Sunday, February 3, 2013

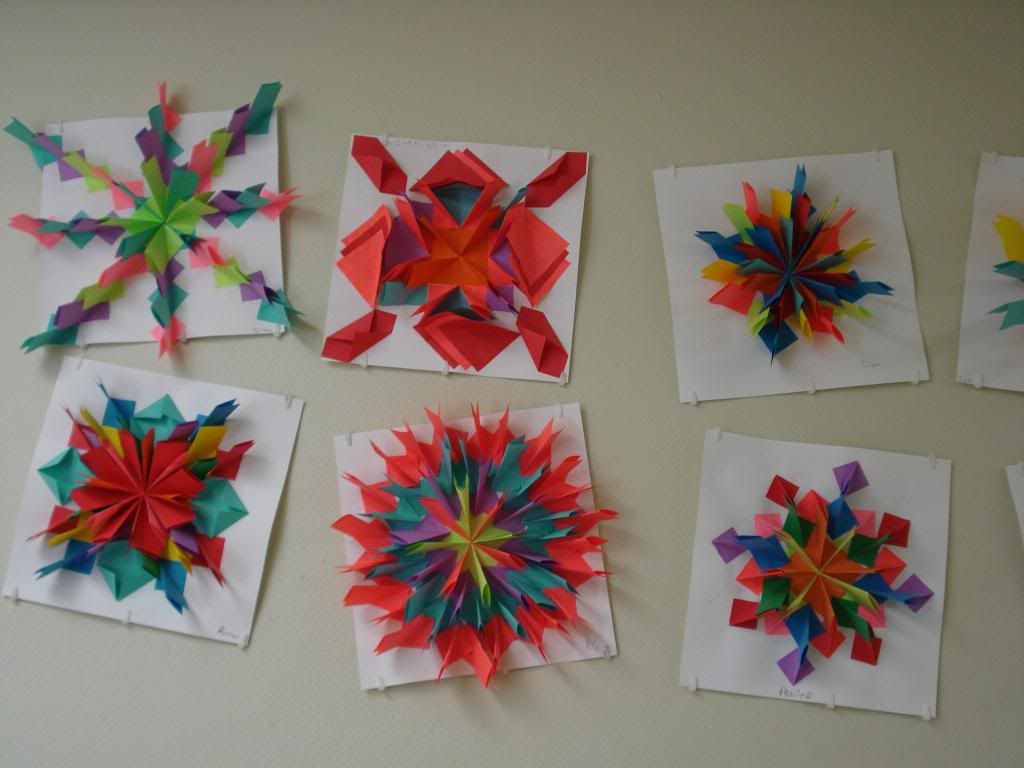
5th Grade Radial Relief Paper Designs

Ok...WOW! It has been quite some time since I have written anything.  I have a lot to catch up on and I think I will start with more recent projects.

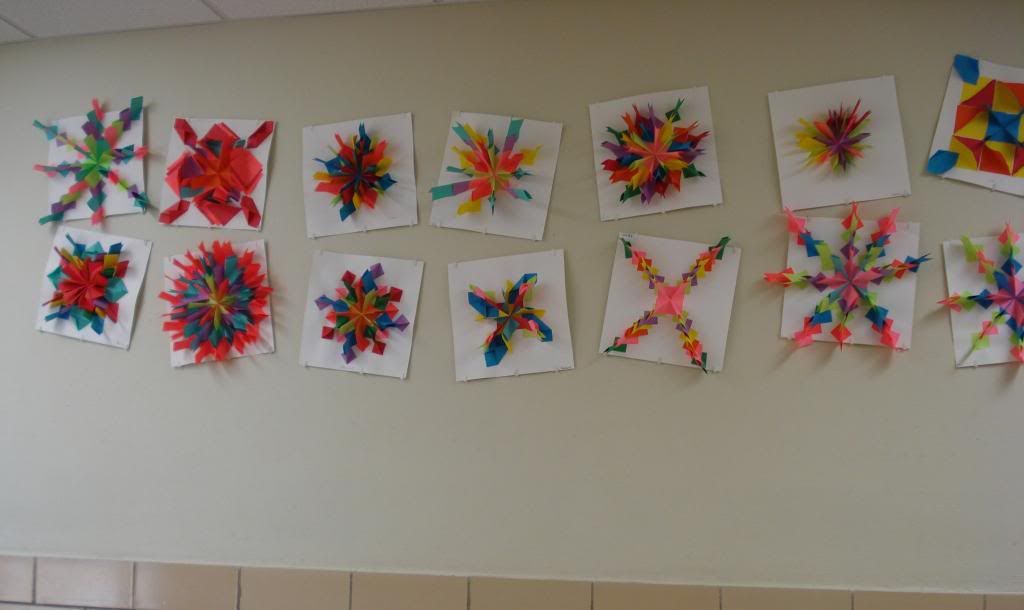
Just last week my 5th graders finished up a 3 week project.  The results were fabulous!!!

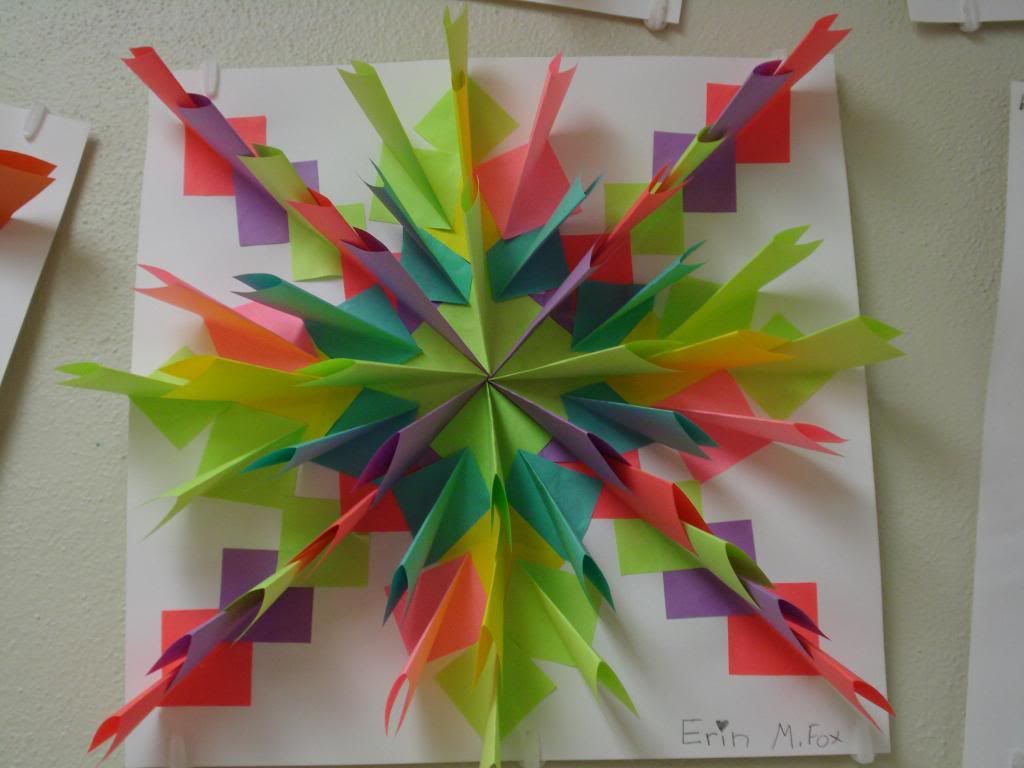
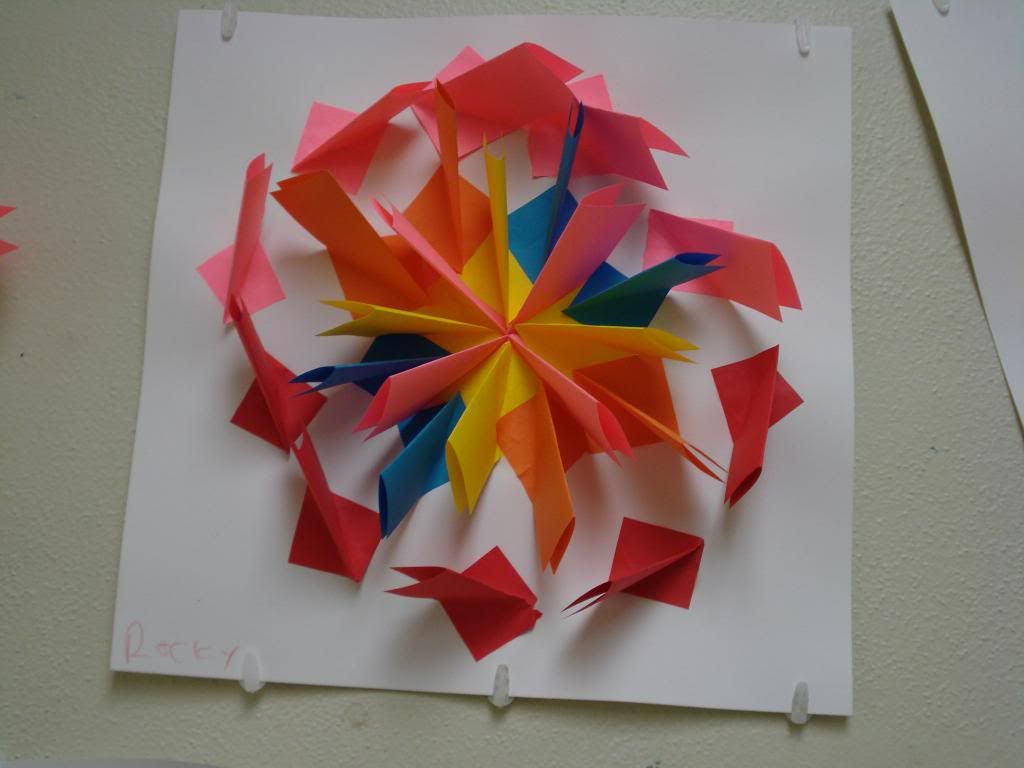
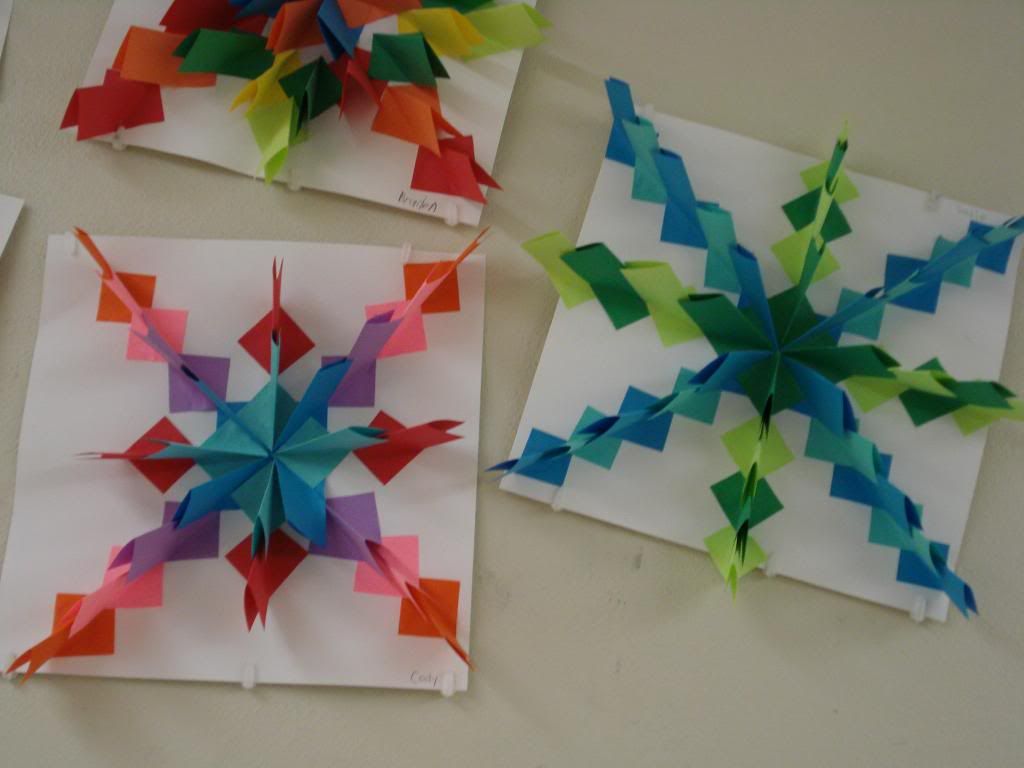
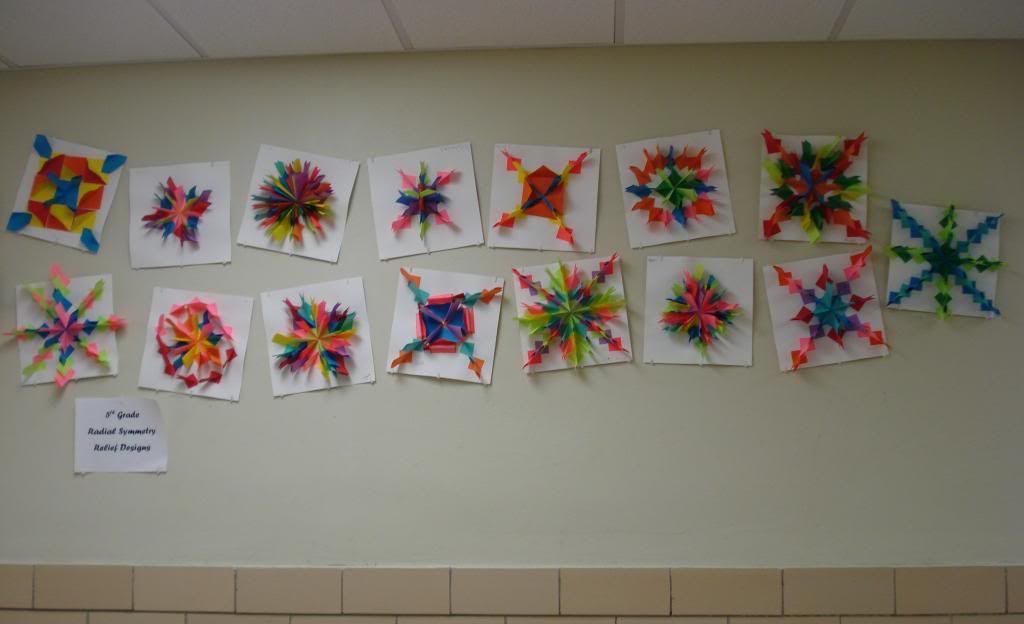
Using the idea of symmetry, my 5th graders found the middle of a 12 inch white paper square and made a plus mark indicating the center.  From there we started folding our paper and gluing, repeating each folded paper 4 times to create symmetry.  I've seen similar projects like this before and the fold is described as a dart, my students described it as an upside down paper airplane.  I can see the reason why they said this.  The idea is that each folded paper can fit inside another.

I did not make my students stack the colored papers inside each other.  I allowed them to have creative freedom as long as their designs showed symmetry.  I "borrowed" colored copy paper from the office for this project because it is thinner and allows for easier, tighter folds.  Plus, they have a variety of bright and bold colors I knew the students would love.  Each colored square is 3 inches.

I love how each one is a little different but still is great!

Here are some results:


Monday, December 17, 2012

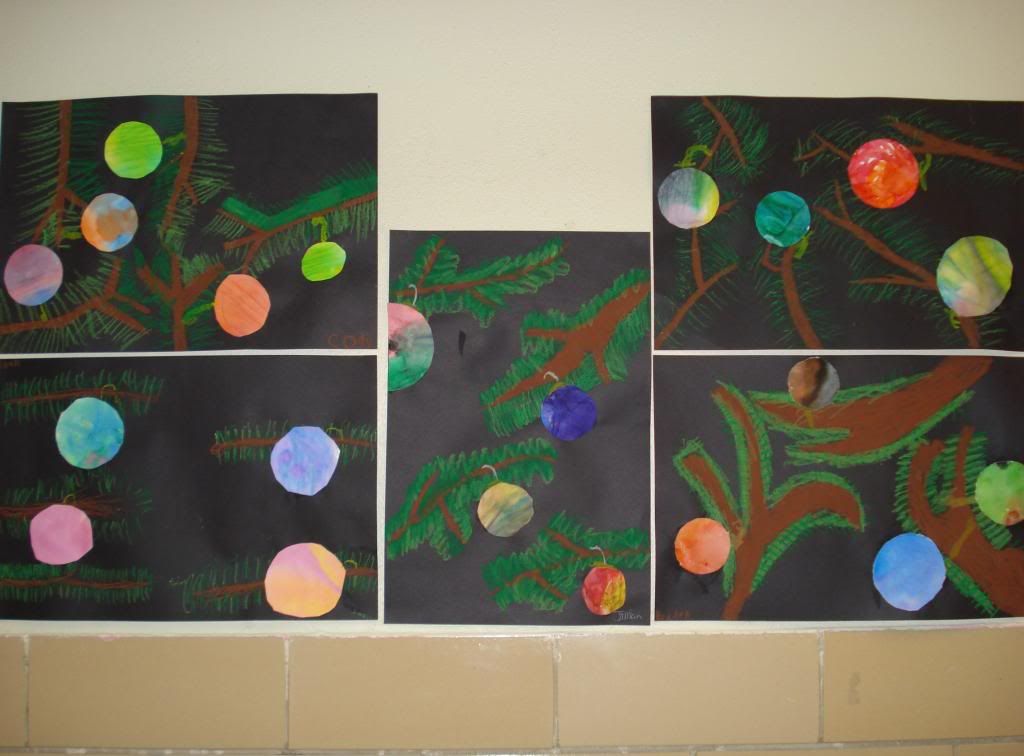
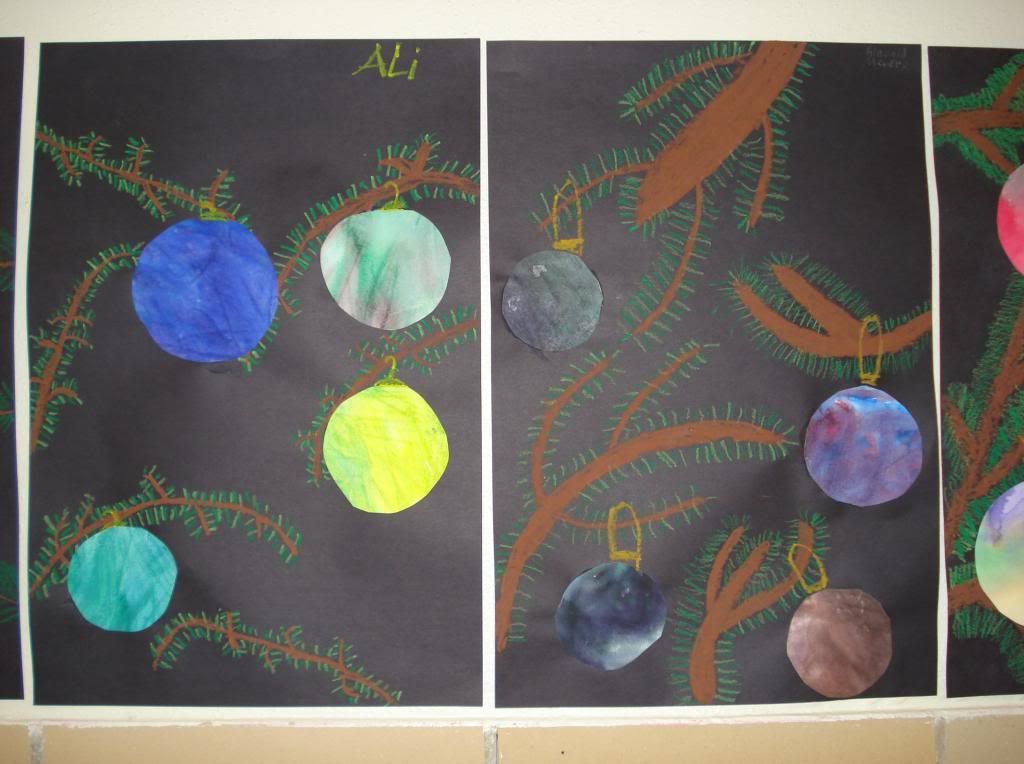
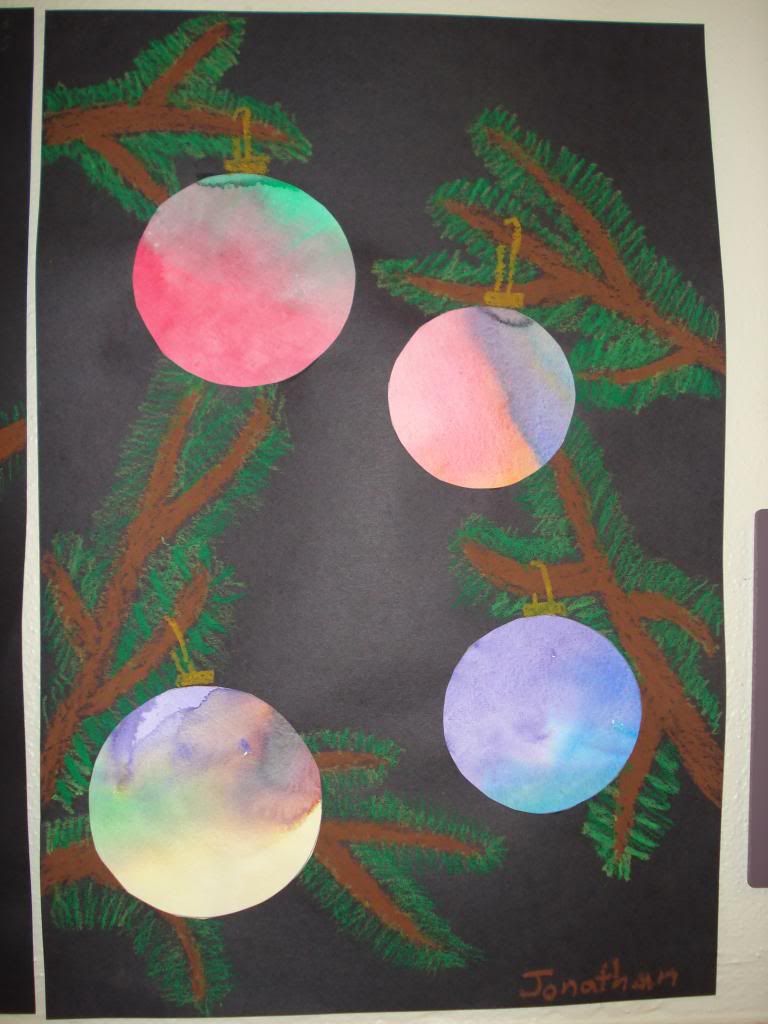
5th Grade in the Christmas Spirit

I feel pretty lucky that my administration lets me do whatever I want in terms of lesson ideas.  I also feel like my ideas are accepted by not only the students but their parents too.  I don't always like the idea of holiday projects because they can get kind of cheesy or cutsey crafty.  However, they do have their place at times.

My 5th graders did these beautiful tree branches and ornaments.  We focused in on creating the texture of the tree branches by using lines with oil pastels.  We divided watercolor paper into 4 sections and did a wet-on-wet technique blending colors together.  We used a compass to create the circle shapes of our ornaments and then put it all together by cutting and gluing.  The final touch was to add hooks so our ornaments and branches went together.

The work in the hallway got great reviews and compliments by many teachers and parents.


Monday, December 10, 2012

Santa Ornaments

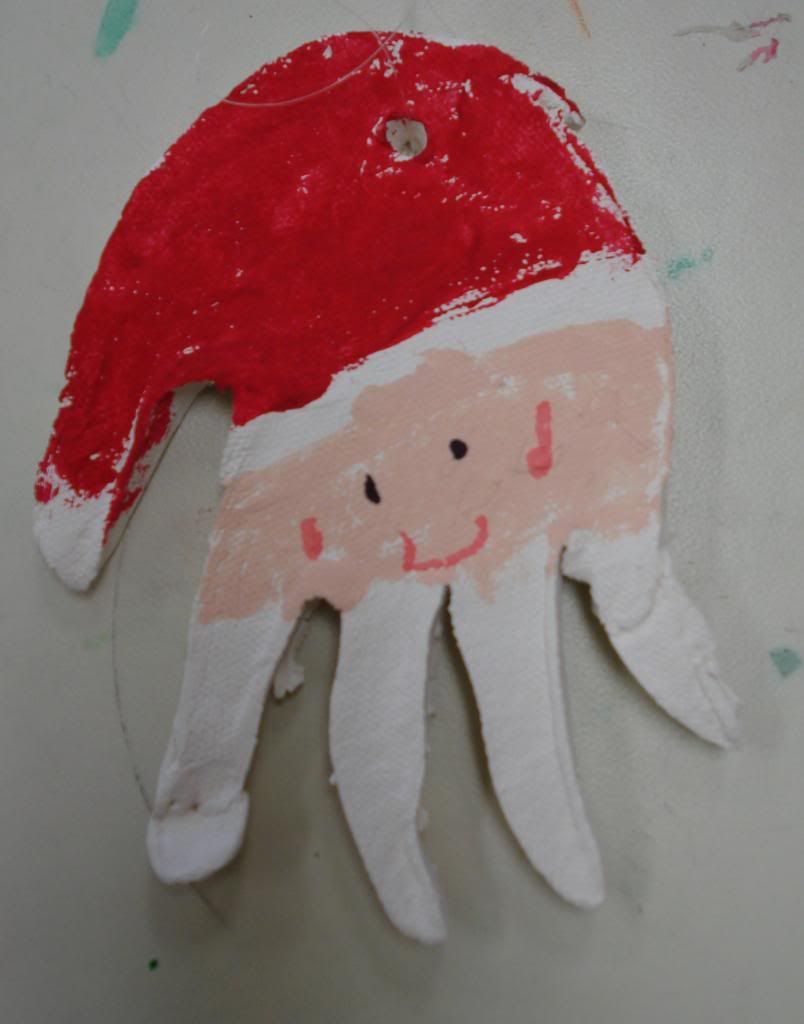
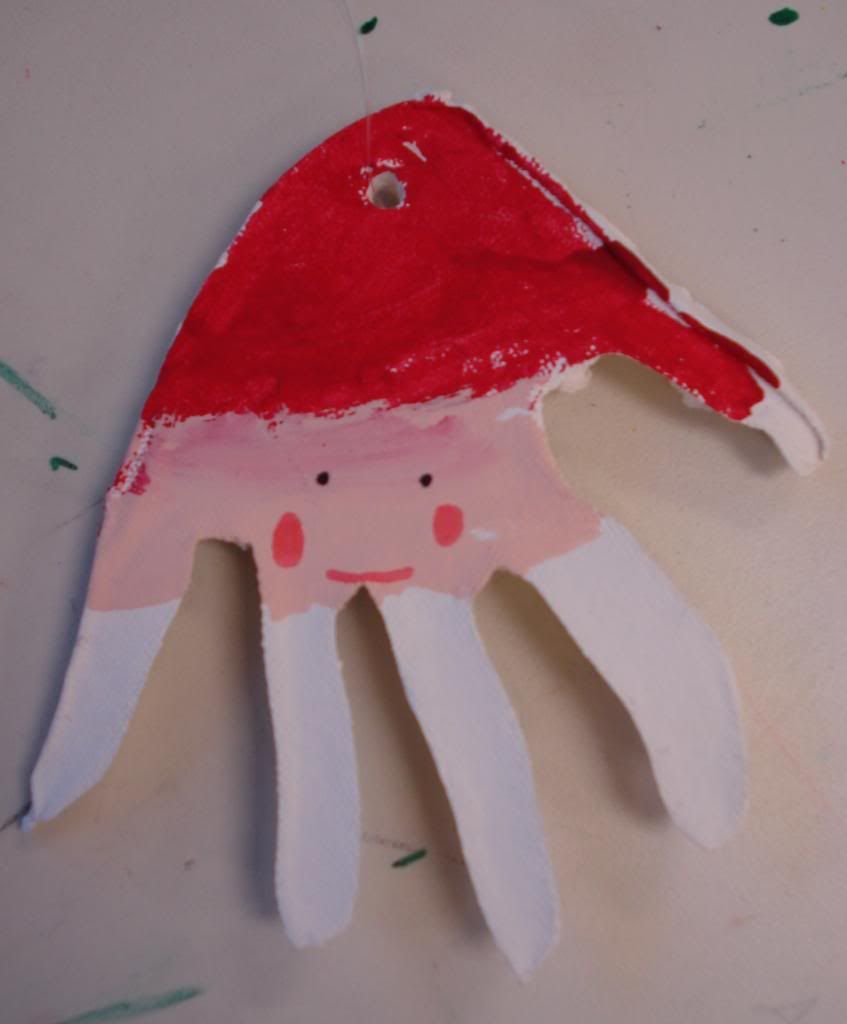
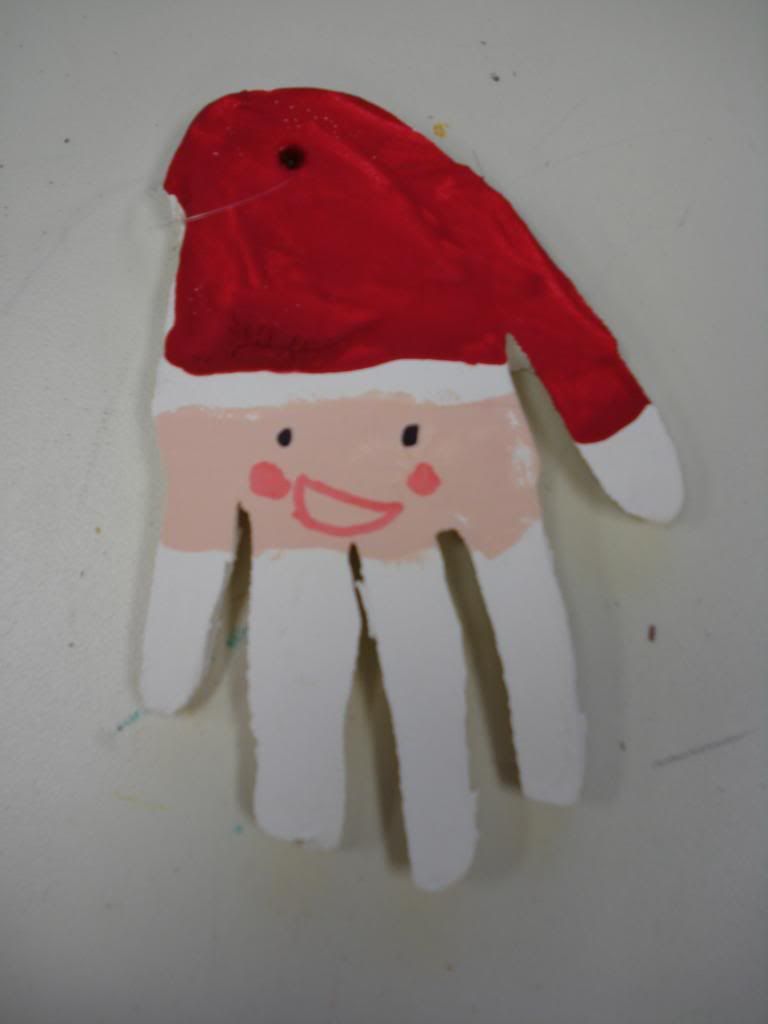
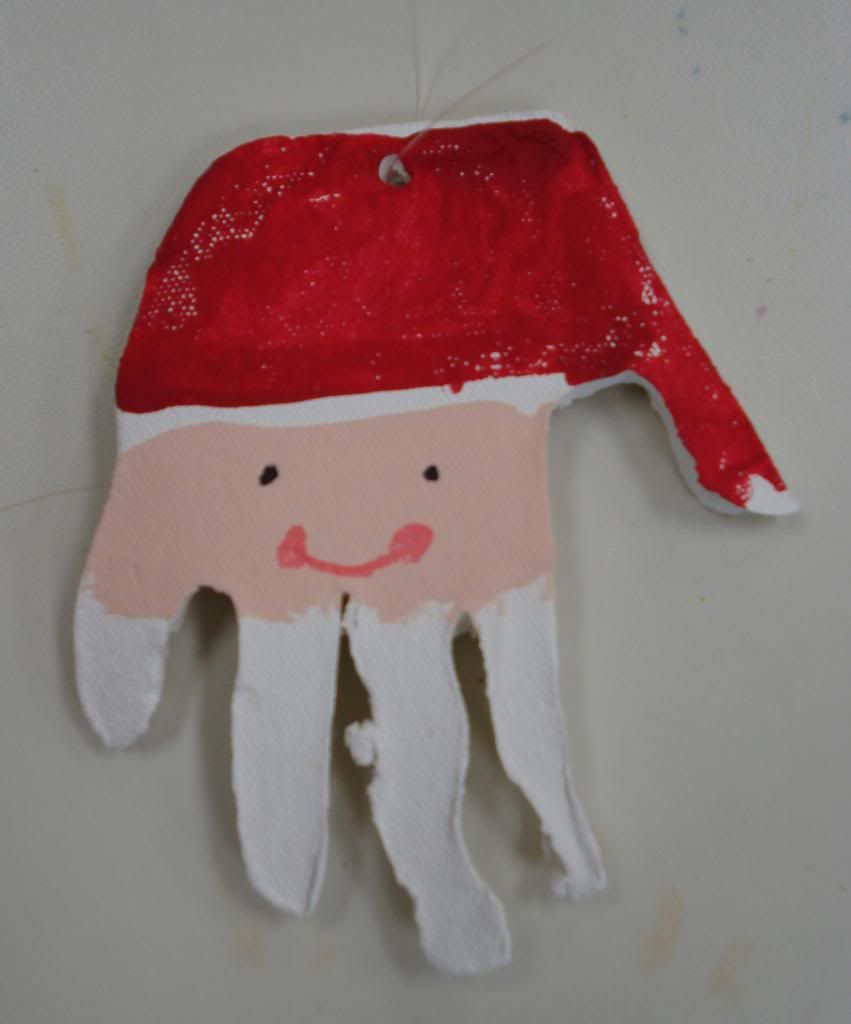
My 1st graders created these ornaments, based off an idea I've seen on Pinterest.  I used clay and rolled out some slabs before giving the students some clay tools to trace and cut out their hand.  Then after they were fired in the kiln, we painted red and skin tone in the appropriate areas.  Because my clay fires white, we just left the white alone.  I think this idea was fun to do and my students had a great time with it.

I love how all of them seem to have their own personalities!


Saturday, December 1, 2012

HS Photo-Realism Candy Drawing

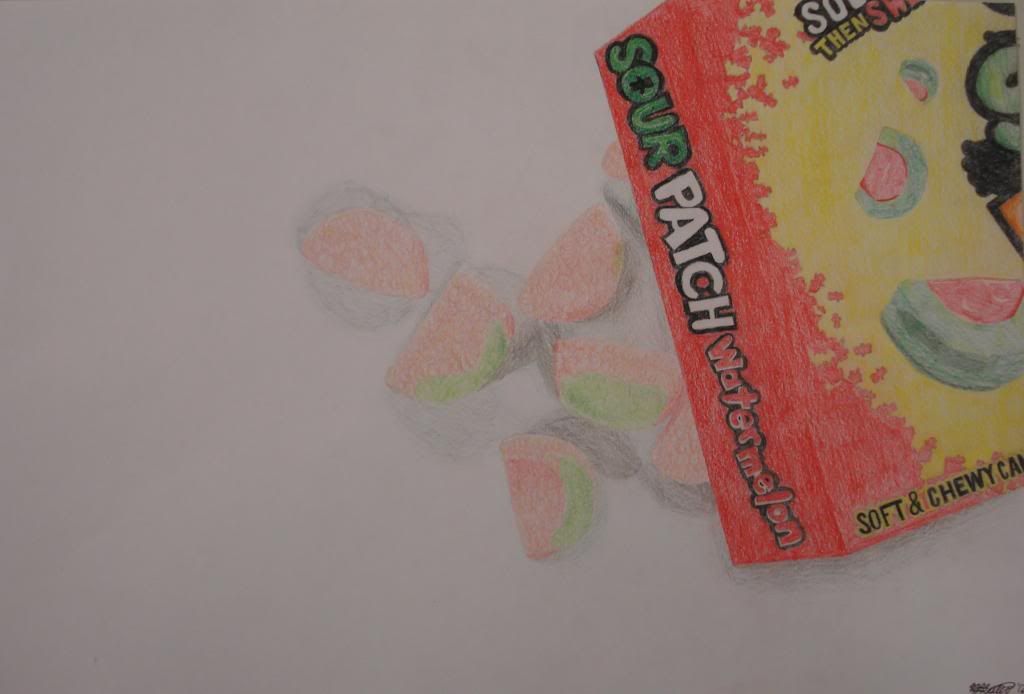
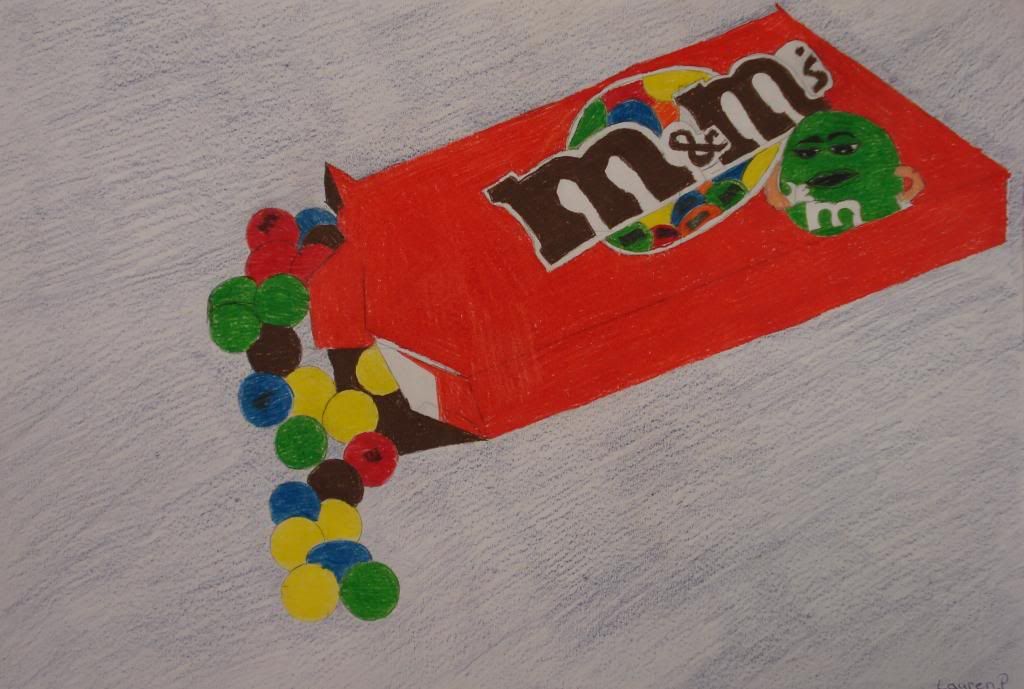
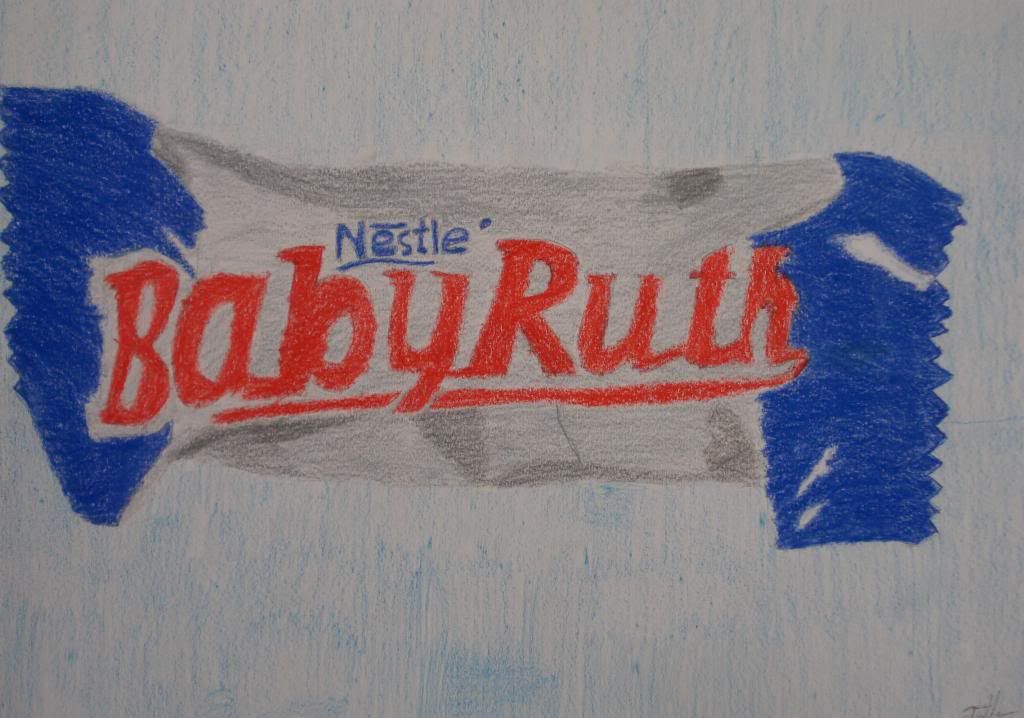
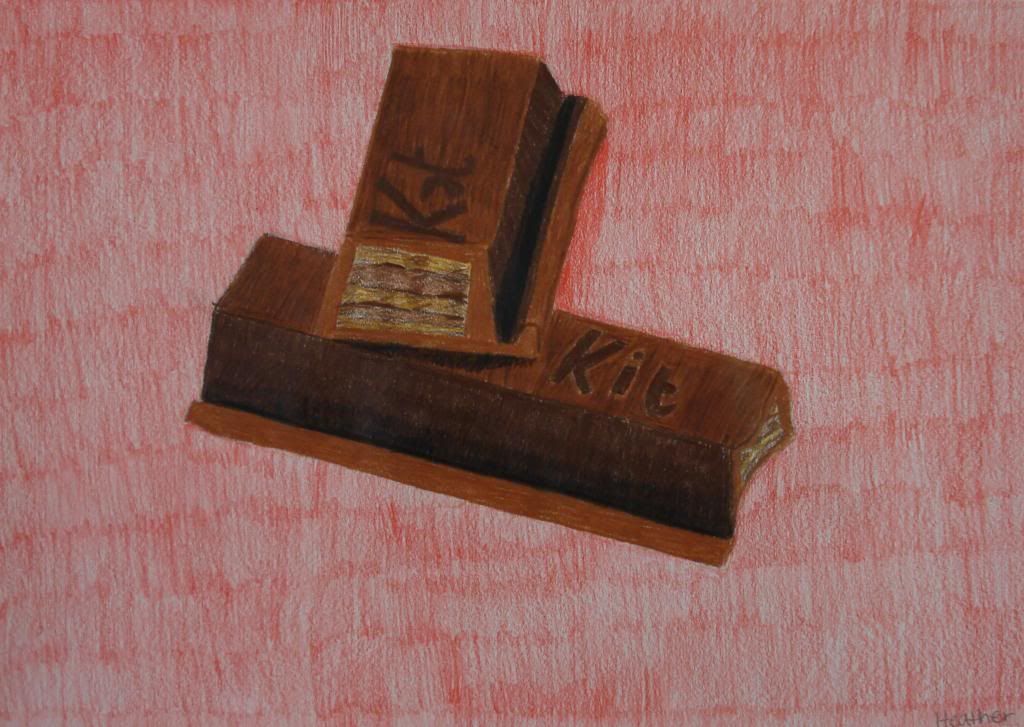
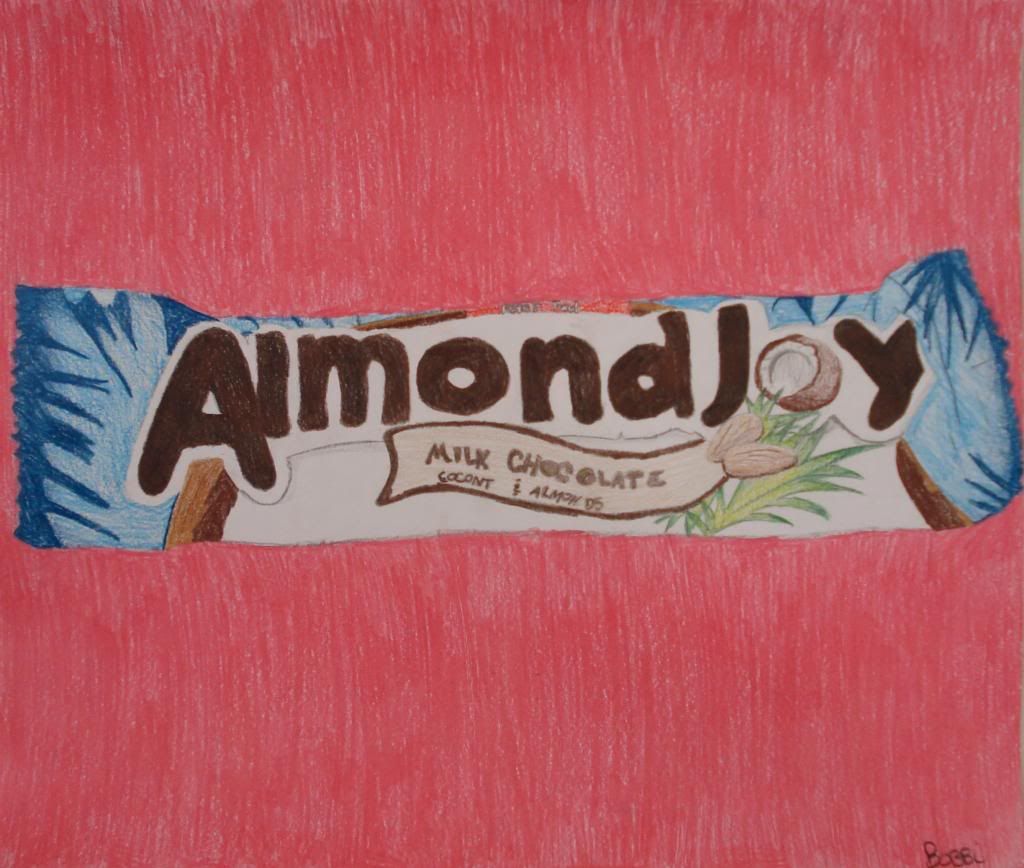
Around Halloween my HS students worked on candy drawings.  They brought in candy of their choice and set up a mini still-life.  Working from a photograph, students focused on the realistic qualities of packaging, lettering, and candy.  We used colored pencils which worked out well for the most part...however, I sure do wish I could afford more expensive colored pencils like Prismacolors.

Here are some student examples:


Monday, November 19, 2012

JH Shaded Portraits

I'm pretty sure I've written about this before, but I'm always pleased by the success that I want to share again!

My JH students were to choose a famous person they wanted to do a shaded drawing of using a grid.  For many of them, this was the first time for a grid and for serious shading.  They rose to the challenge and did a great job!

We focused on the contour lines and getting the shapes right by using a grid system.  I'm a fan of the grid, only because for a lot of my students it "clicks" and that is such a great thing to see.  They are proud of what they have done and see the success which is awesome.  I think that it is a great tool for them to know how to use.  We spent a good week preparing our photos, paper, and drawing the contour lines in the drawing.  We then spent another full week shading.  I demonstrate some tips and tricks for them and we discuss the differences in shading pencils.

I got some pretty great results:

Country Singer...I can't remember the name

Weird Al Yankovic


Taylor Swift

Michael Jordan

One of my JH boys who has struggled with a lot of projects made the comment the other day when they handed these projects in that this was the best project we had done so far!  I was very pleased and proud of this statement, first because who it came from and second because this was a really challenging project and my kids stepped it up!  What a proud moment :)

Thursday, November 1, 2012

Perspective and 5th Grade!

I've never done anything with perspective younger than my 7th and 8th grade students, but I decided after seeing my HS students struggle with it more than I expected to give it a try.  My 5th graders stepped up and rocked it!  I showed them how I would do my last name using 1 point perspective and they loved how it looked!  I explained how it worked and that it would probably be a challenging project but I believed they could do it...and they did!

My students first chose either their first or last name, most of the decisions came easily based on the number of letters.  We focused on creating block or bubble letters and spreading them across the page.  This step alone in itself was a challenge for many, but we kept working at it until we got it.  Then we added the point and using a ruler connected each letter to the dot in the appropriate areas.  My students had an understanding that I would be coming around to check everyone's work, so they needed to be patient.  While they were waiting for me to come around and answer questions and check their work, I encouraged them to ask the people at their table to see if they could figure out their questions together.  After they finished, students added color with colored pencils.

Here are some results...not too shabby for 5th grade! :)


Monday, October 29, 2012

JH Magazine Mosaic Animals

My JH students drew animals and used magazines to create a mosaic effect using shades of one color.  This was a pretty simple and straightforward assignment, so we really focused on the drawing aspect of the animal.  We did several sketches and then drew them large on the paper.  We kept it pretty simple in drawing too, focusing on the contour lines and on the inside of the animal only drawing lines where colors changed.  Students then pulled out pages from magazines that were of the color they chose.  Using small sections of those colors, they pieced the colors together, similar to a mosaic.

Here are some finished results: