So I have definitely fallen behind on my blog, but I think I needed a break from it.
I have found a new teaching job for next school year and will be moving this summer! It will definitely be a big change, but it is time for something different and I am excited for it!
I am moving from a small rural town where I teach K-12 Art to a much larger city where I will be 1 of 5 high school art teachers! Talk about big changes! I am looking forward to this new challenge that will be more focused on one age group. Although I am nervous about these big changes, they are equally as exciting!
In the next 8 weeks I will be starting and finishing a 3 credit hour class for my Masters, finishing up this school year with my kids for the last time here, finding a new place to live, packing up and moving! Craziness is in store!
The next few weeks finishing up the school year with my kids and teacher friends will be very bittersweet! I am excited about this new opportunity and adventure but saying goodbye and leaving my first job that I have had for 3 years will be tough!
Despite my moving in just a couple months, I have tons of catching up to do on here and I will do my best! Lots of posts with fun projects coming soon, I promise!
Sunday, May 5, 2013

Monday, February 18, 2013
6th Grade Origami
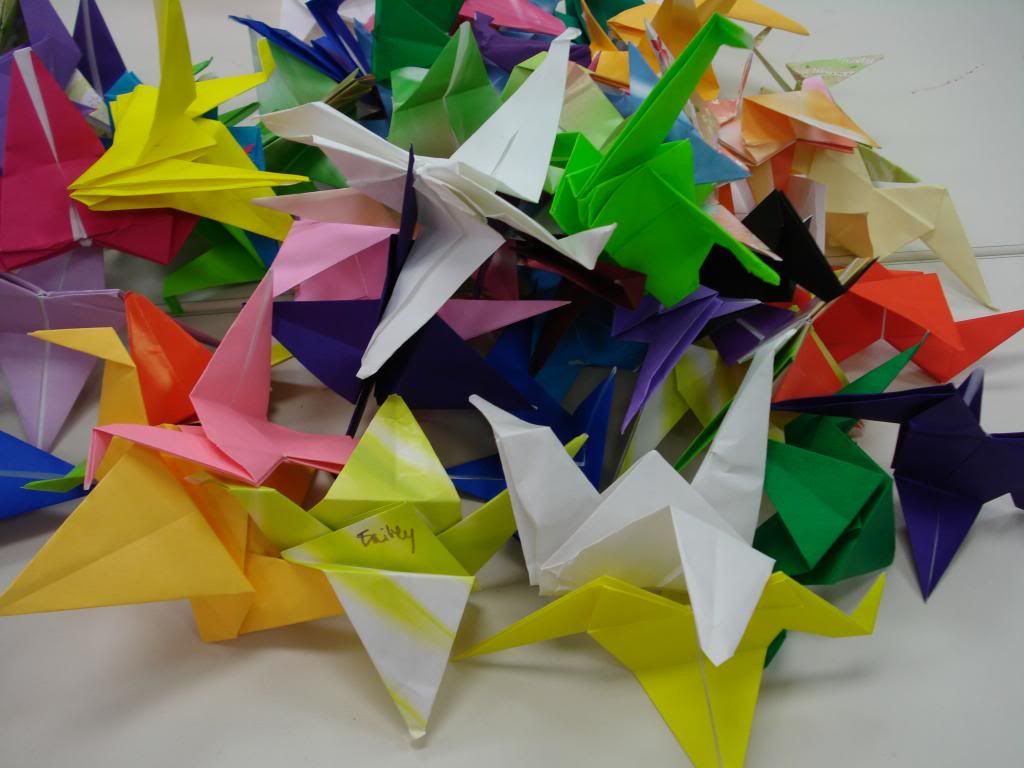
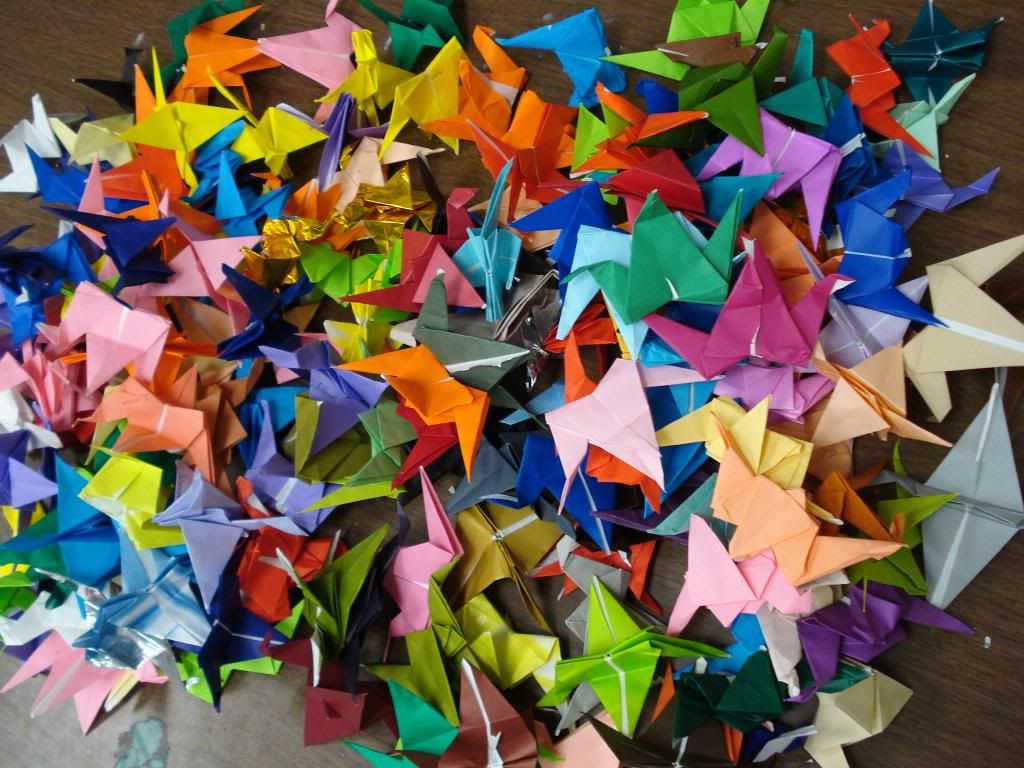
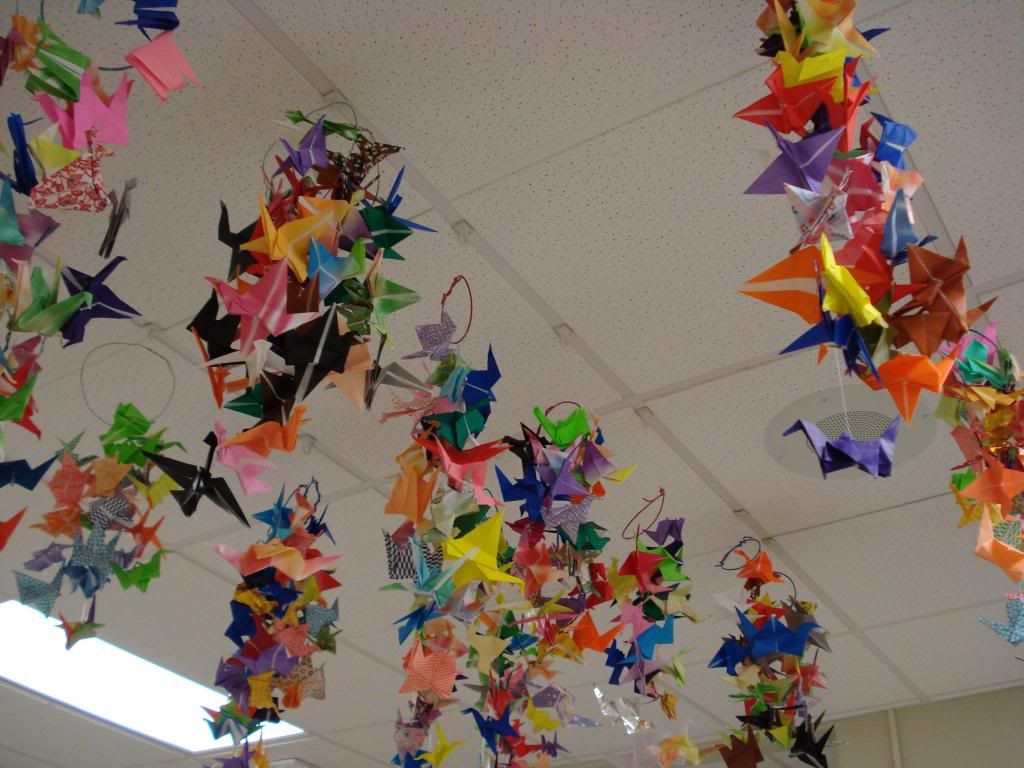
My 6th graders spent the last 7 weeks creating 1000 origami paper cranes. 6th graders also spent the beginning of semester studying Asia in reading, math, social studies, music, PE, and art. Working together, the teachers and I created a unit to go with a story they read in class. I'm not even sure all what they learned that ties to Asia, but when I learned what they were going to do I wanted to jump in too!
I chose to study origami and how it ties into storytelling. I showed students this video:
http://www.youtube.com/watch?v=Yof5Us9dG28

Kuniko Yamamoto is a Japanese woman who tells the legends/stories of Japan and origami. This woman is so interesting and great at telling her stories. I actually saw her in 2011 at our annual state art conference. I started my origami unit by showing my 6th graders this video. They were so excited after seeing this video...it was cool to see their reaction.
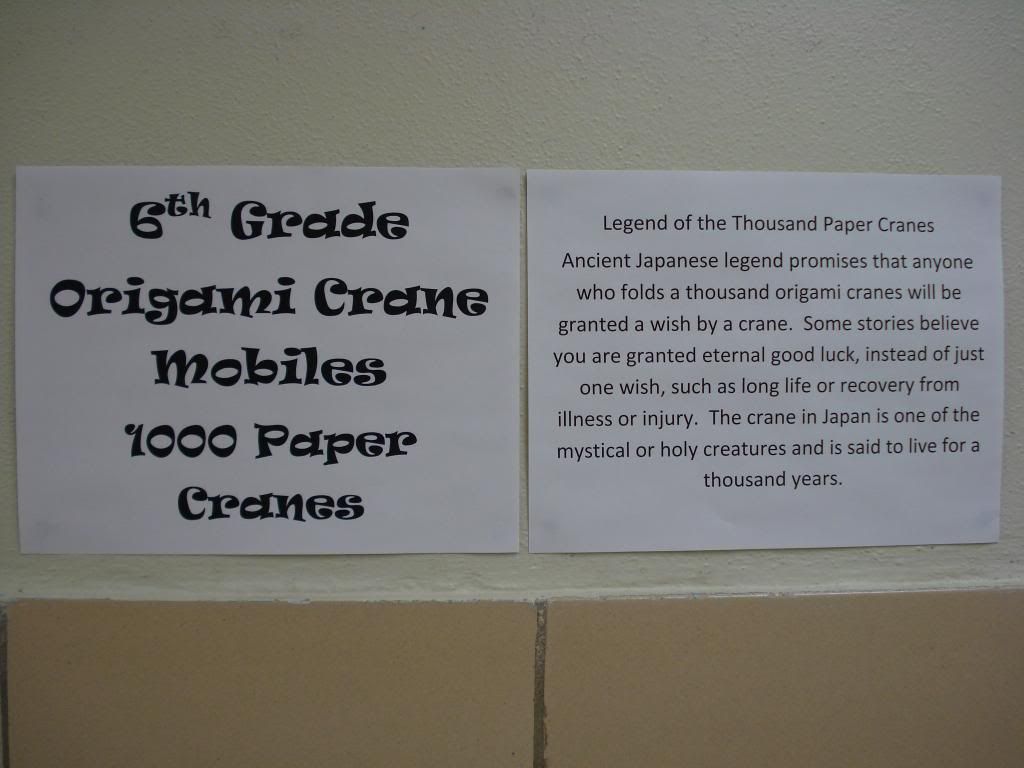
We discussed the legend of the 1000 Paper Cranes and how it brings good luck/wealth to the person who makes them. After the video we went through the step by step to create an origami crane. My lofty goal was to have each student make 25. I have 39 6th graders times plus myself is 40. 25 X 40 = 1000!
After 7 weeks I was done...well ok I was over the cranes floating around my room way before then. Thankfully because I knew it would take a long time for these to be made, the 6th grade teachers allowed me to leave them paper and the students made them during their free time in the regular classroom. This helped tremendously because otherwise we would still be folding paper cranes.
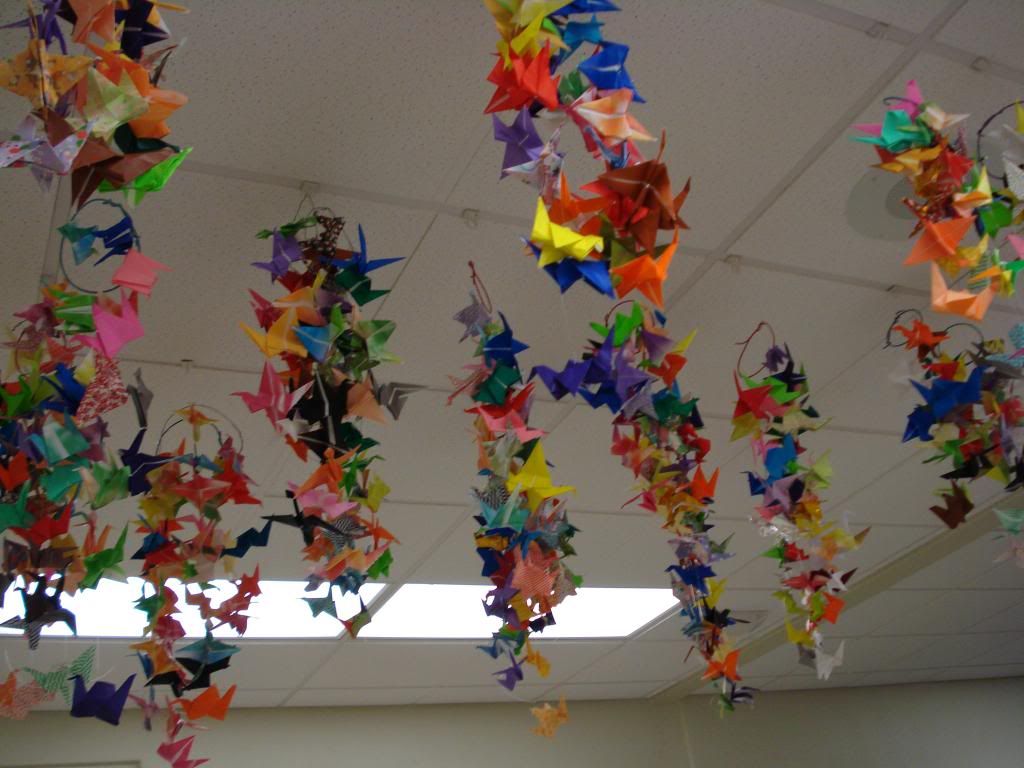
After students completed their number of cranes, they hung them together with fishing line in strands of 3-6. Students then created a mobile out of their cranes using wire. Here are some fun images of the project!


I chose to study origami and how it ties into storytelling. I showed students this video:
http://www.youtube.com/watch?v=Yof5Us9dG28
Kuniko Yamamoto is a Japanese woman who tells the legends/stories of Japan and origami. This woman is so interesting and great at telling her stories. I actually saw her in 2011 at our annual state art conference. I started my origami unit by showing my 6th graders this video. They were so excited after seeing this video...it was cool to see their reaction.
We discussed the legend of the 1000 Paper Cranes and how it brings good luck/wealth to the person who makes them. After the video we went through the step by step to create an origami crane. My lofty goal was to have each student make 25. I have 39 6th graders times plus myself is 40. 25 X 40 = 1000!
After 7 weeks I was done...well ok I was over the cranes floating around my room way before then. Thankfully because I knew it would take a long time for these to be made, the 6th grade teachers allowed me to leave them paper and the students made them during their free time in the regular classroom. This helped tremendously because otherwise we would still be folding paper cranes.
After students completed their number of cranes, they hung them together with fishing line in strands of 3-6. Students then created a mobile out of their cranes using wire. Here are some fun images of the project!
Wednesday, February 6, 2013
HS Art Auction
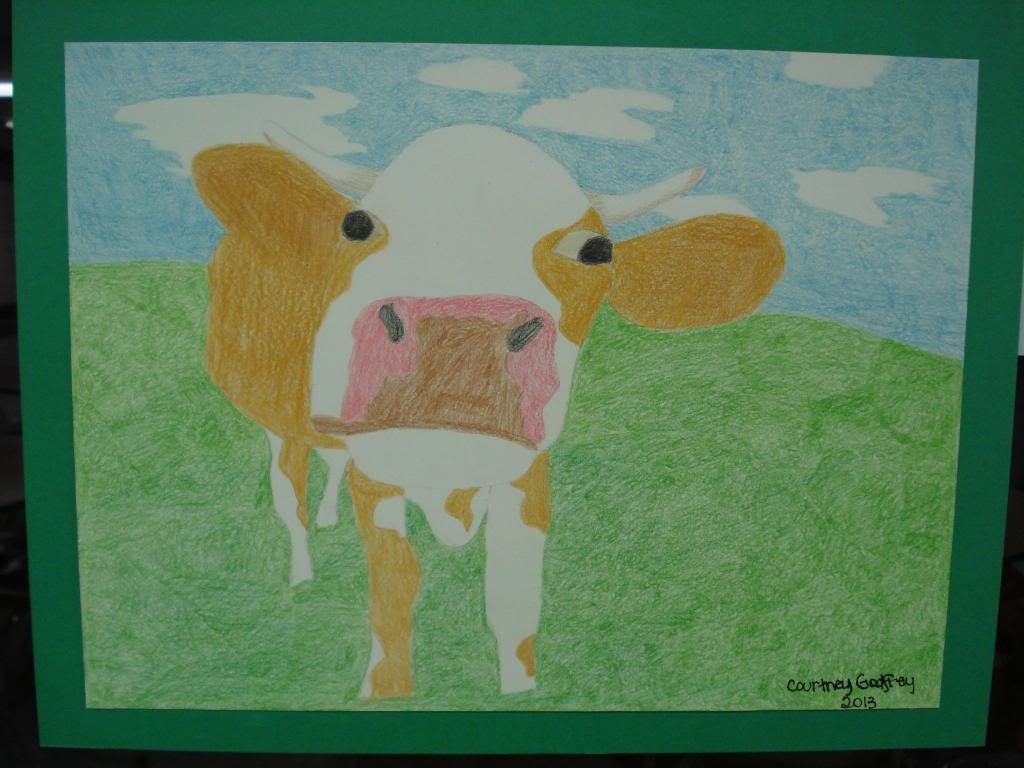
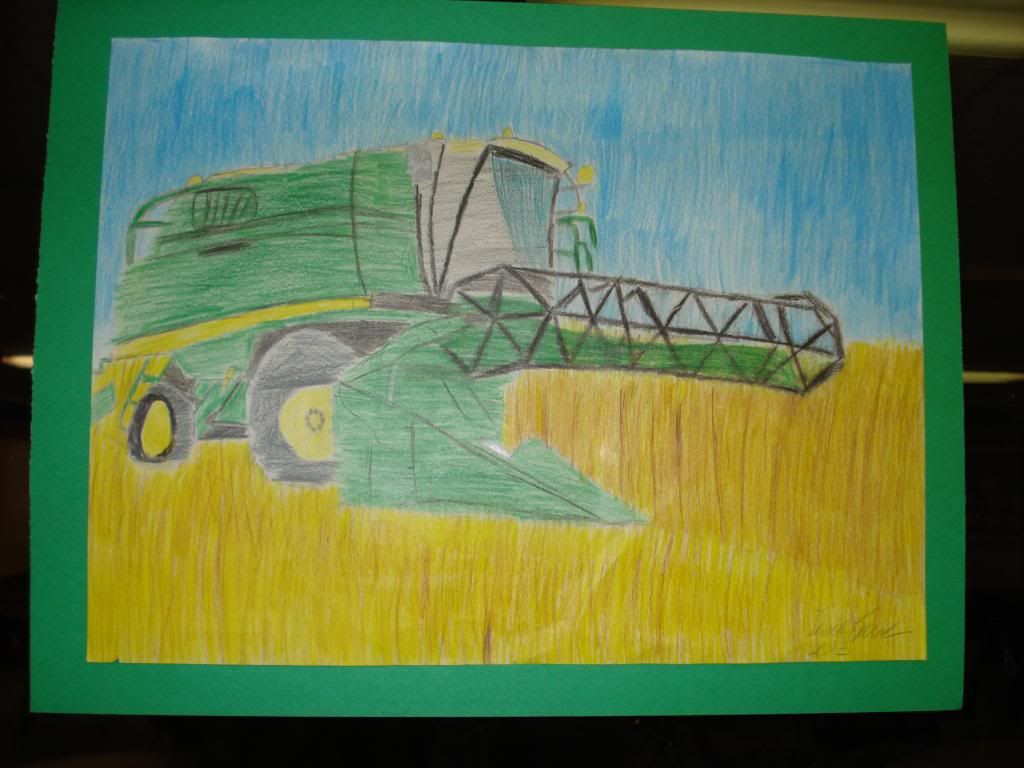
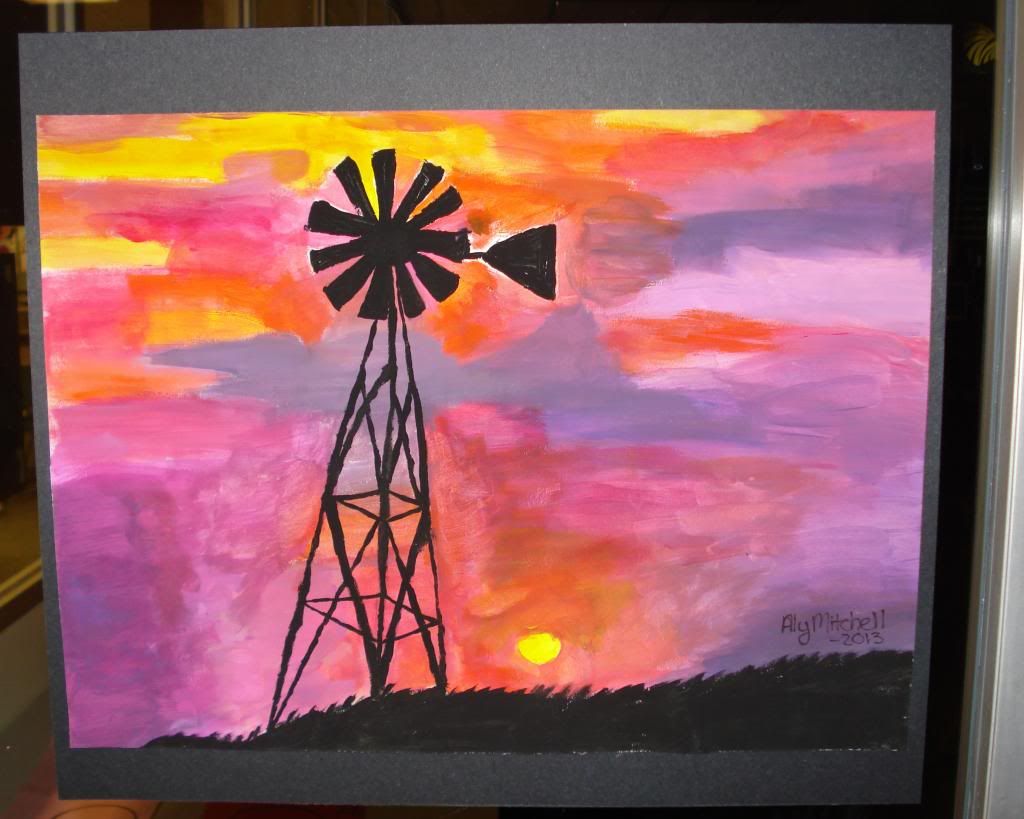
I have been teaching here for 3 years and each year since I have been here during basketball season my students create art pieces for a silent art auction. I have posted about them before, but have some great images to share again this year!
The theme for auction pieces has to do with our school or with Kansas. This is probably the easiest fundraiser I have ever done. The majority of the work is done in class by the students. It just takes a little organization and advertisement by me to get the job done! The support from parents, teachers, and community members is much appreciated. I was a little disappointed in the turnout this year compared to years past, but we were successful in quickly making $457 for the art department!
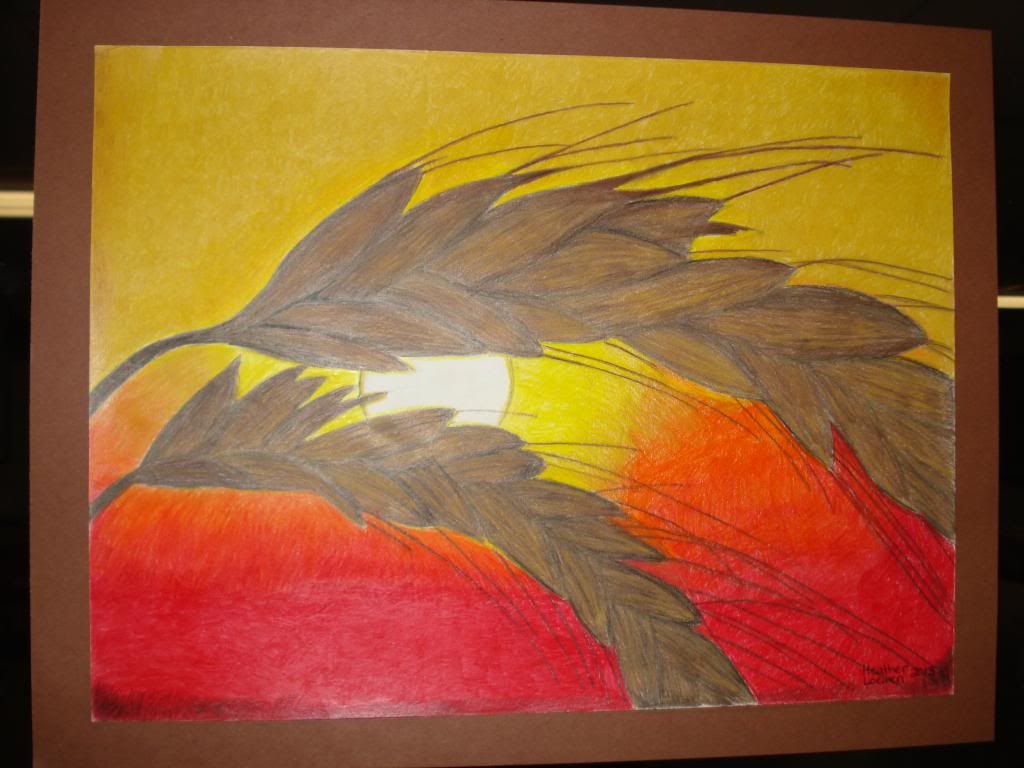
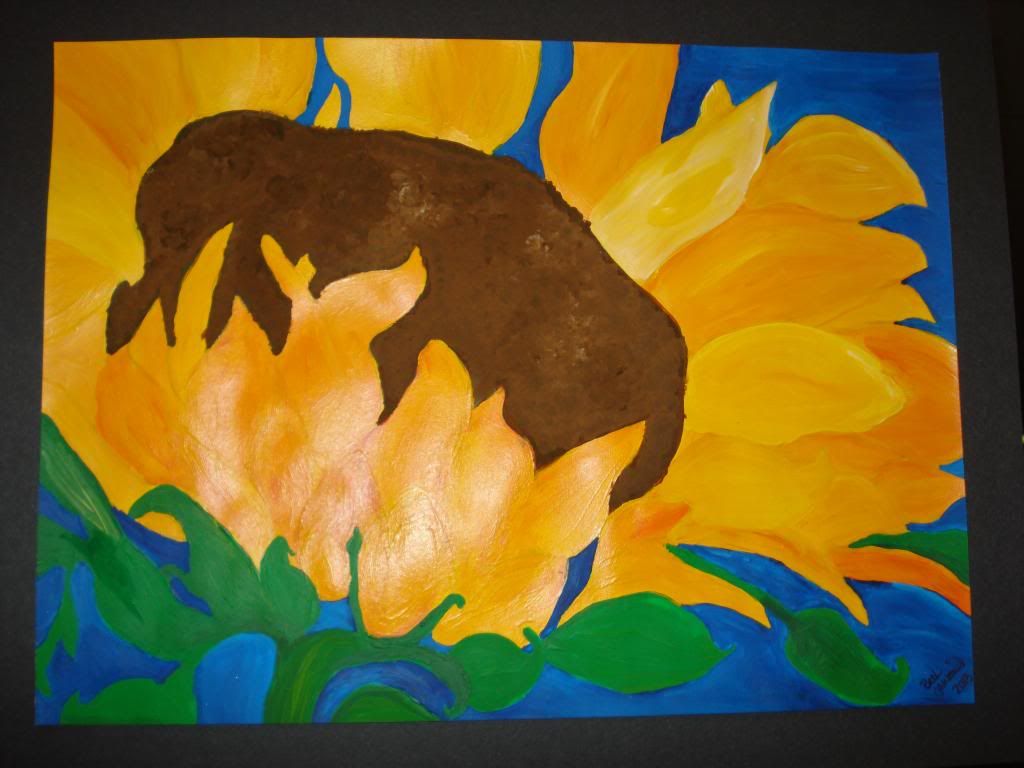
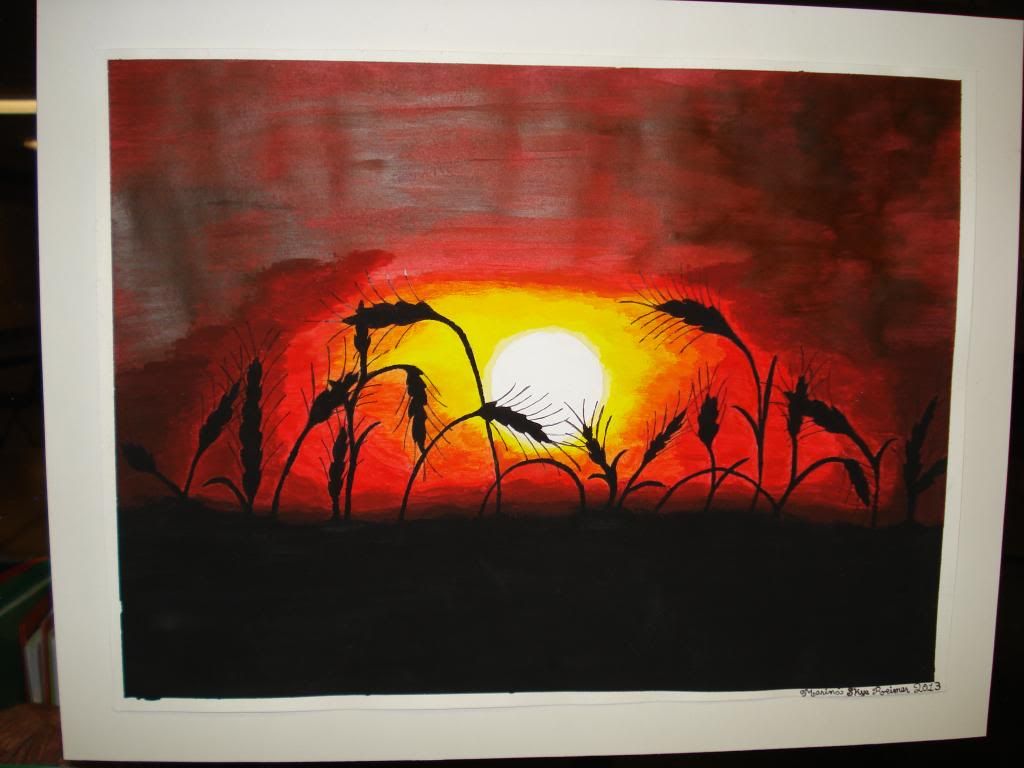
I had 44 pieces total for sale this year, a variety of drawings, paintings, and a few clay pieces. All of my students go into the assignment knowing that their piece will be sold. Each student must make at least one piece. No matter the skill level or end result, they all sell something in the auction. I totally missed photographing the clay pieces before they were gone, but I got some not so great (in quality) photos of some of the best and my favorite pieces!
Here they are:


The theme for auction pieces has to do with our school or with Kansas. This is probably the easiest fundraiser I have ever done. The majority of the work is done in class by the students. It just takes a little organization and advertisement by me to get the job done! The support from parents, teachers, and community members is much appreciated. I was a little disappointed in the turnout this year compared to years past, but we were successful in quickly making $457 for the art department!
I had 44 pieces total for sale this year, a variety of drawings, paintings, and a few clay pieces. All of my students go into the assignment knowing that their piece will be sold. Each student must make at least one piece. No matter the skill level or end result, they all sell something in the auction. I totally missed photographing the clay pieces before they were gone, but I got some not so great (in quality) photos of some of the best and my favorite pieces!
Here they are:

Sunday, February 3, 2013
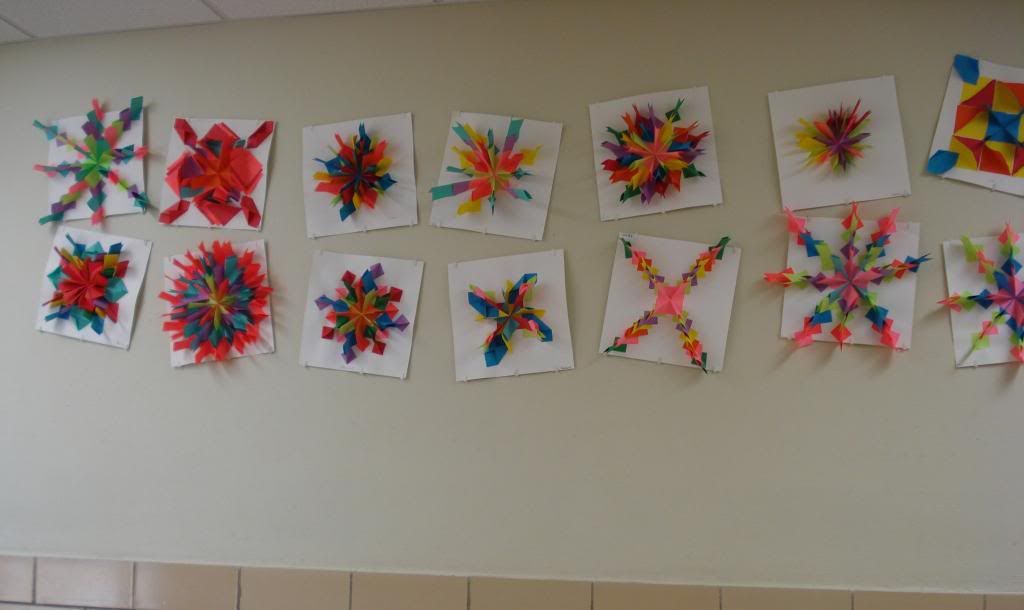
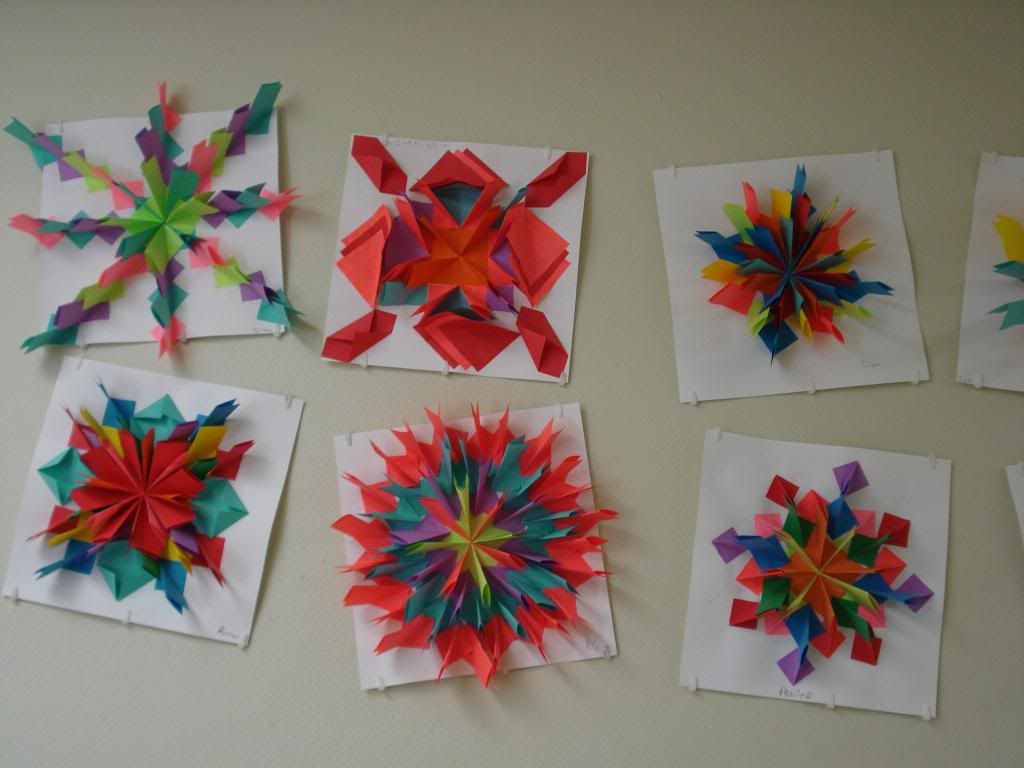
5th Grade Radial Relief Paper Designs
Ok...WOW! It has been quite some time since I have written anything. I have a lot to catch up on and I think I will start with more recent projects.
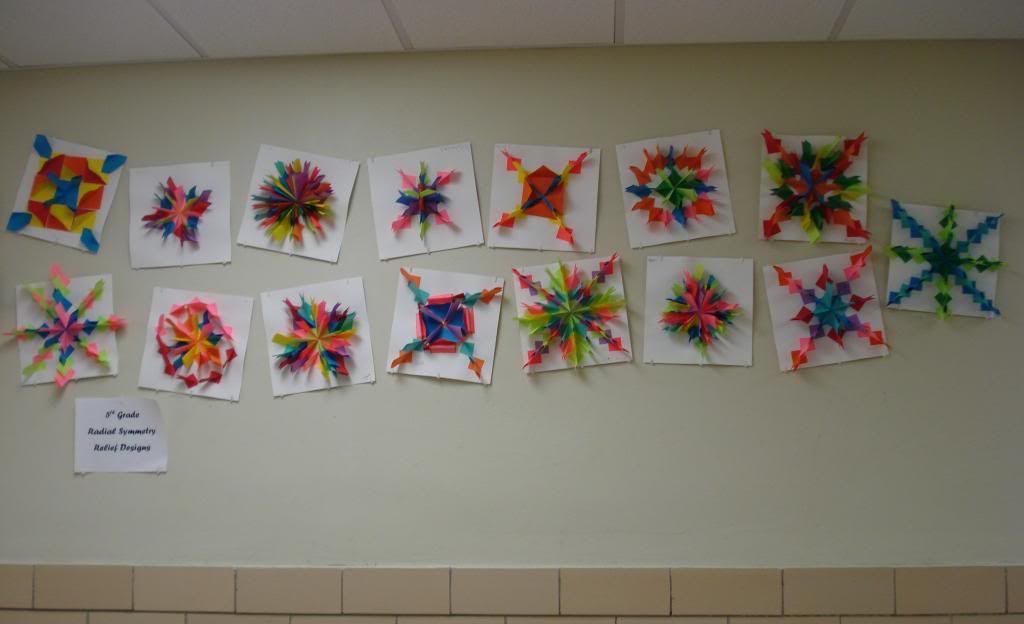
Just last week my 5th graders finished up a 3 week project. The results were fabulous!!!
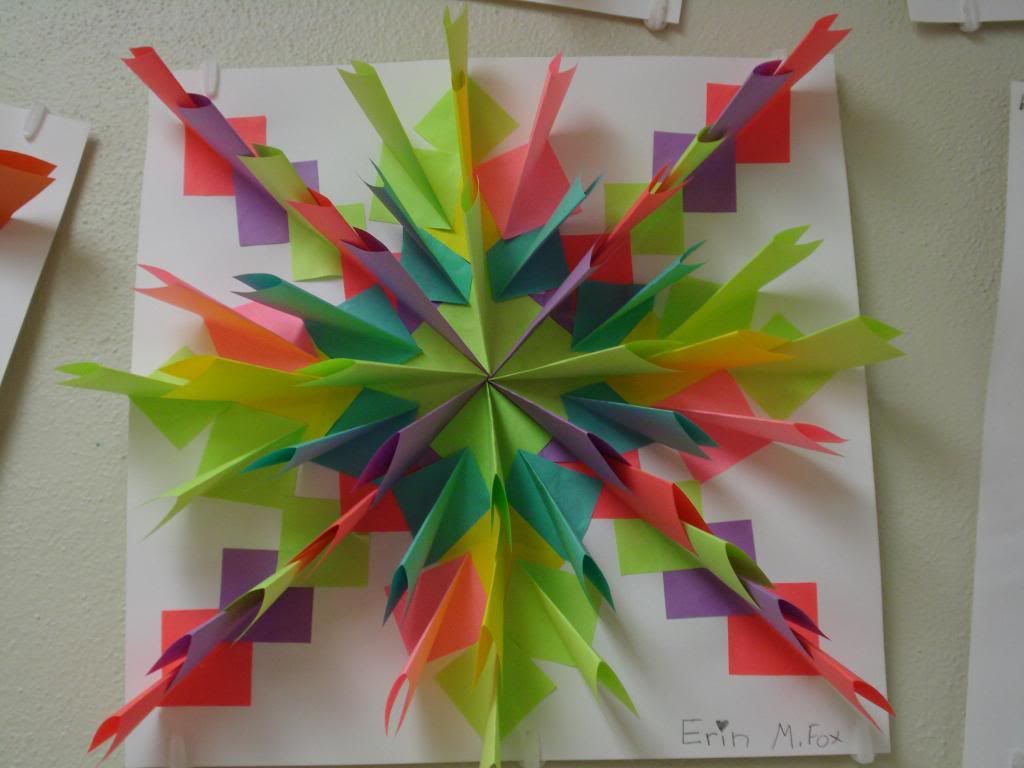
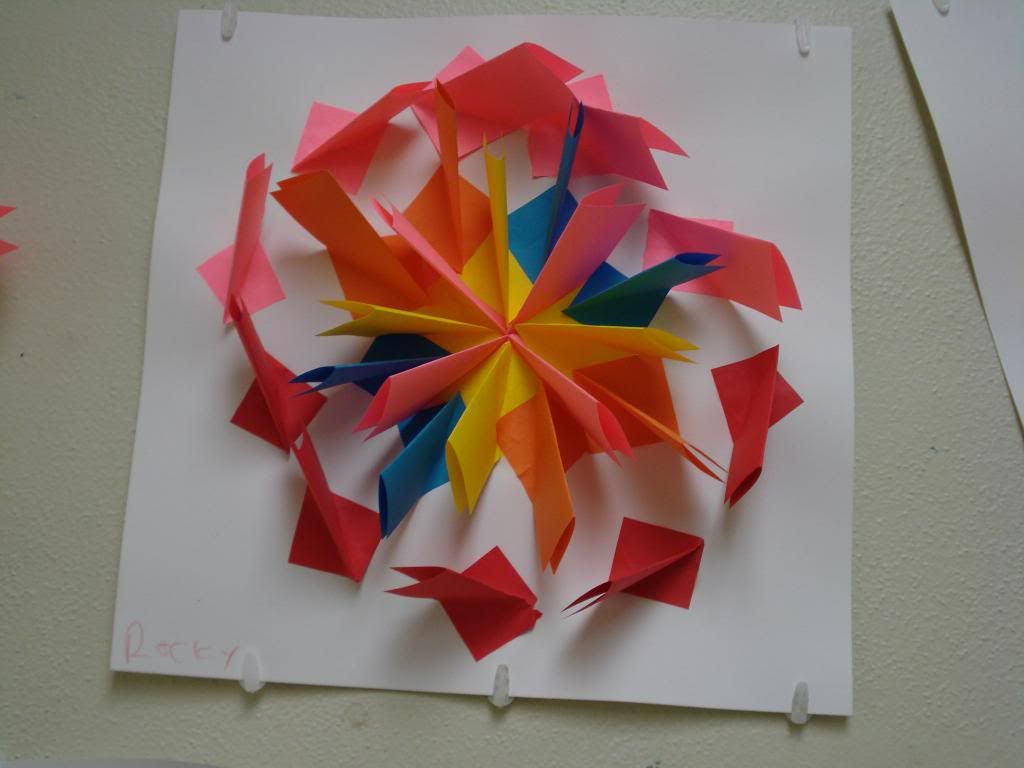
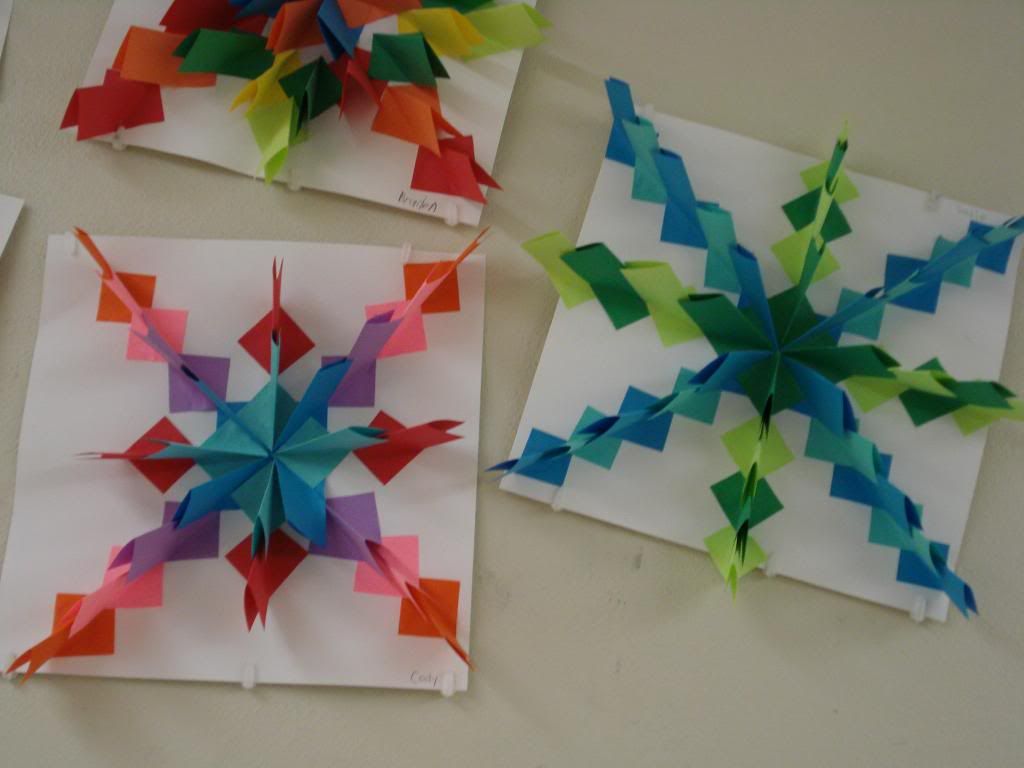
Using the idea of symmetry, my 5th graders found the middle of a 12 inch white paper square and made a plus mark indicating the center. From there we started folding our paper and gluing, repeating each folded paper 4 times to create symmetry. I've seen similar projects like this before and the fold is described as a dart, my students described it as an upside down paper airplane. I can see the reason why they said this. The idea is that each folded paper can fit inside another.
I did not make my students stack the colored papers inside each other. I allowed them to have creative freedom as long as their designs showed symmetry. I "borrowed" colored copy paper from the office for this project because it is thinner and allows for easier, tighter folds. Plus, they have a variety of bright and bold colors I knew the students would love. Each colored square is 3 inches.
I love how each one is a little different but still is great!
Here are some results:


Just last week my 5th graders finished up a 3 week project. The results were fabulous!!!
Using the idea of symmetry, my 5th graders found the middle of a 12 inch white paper square and made a plus mark indicating the center. From there we started folding our paper and gluing, repeating each folded paper 4 times to create symmetry. I've seen similar projects like this before and the fold is described as a dart, my students described it as an upside down paper airplane. I can see the reason why they said this. The idea is that each folded paper can fit inside another.
I did not make my students stack the colored papers inside each other. I allowed them to have creative freedom as long as their designs showed symmetry. I "borrowed" colored copy paper from the office for this project because it is thinner and allows for easier, tighter folds. Plus, they have a variety of bright and bold colors I knew the students would love. Each colored square is 3 inches.
I love how each one is a little different but still is great!
Here are some results:
Monday, December 17, 2012
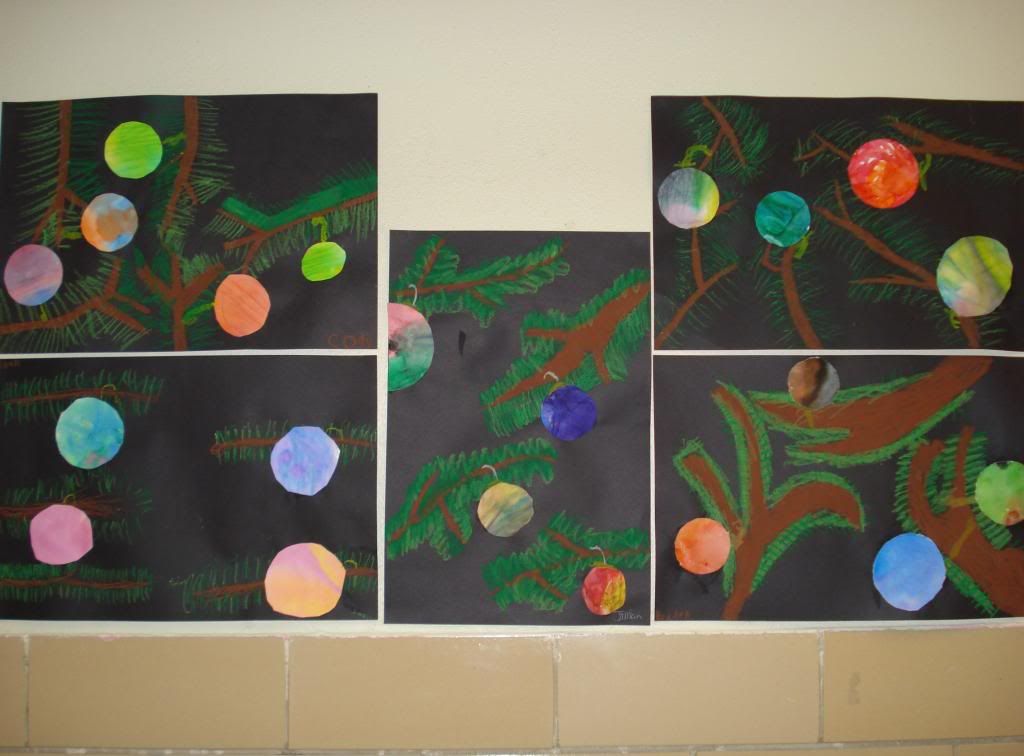
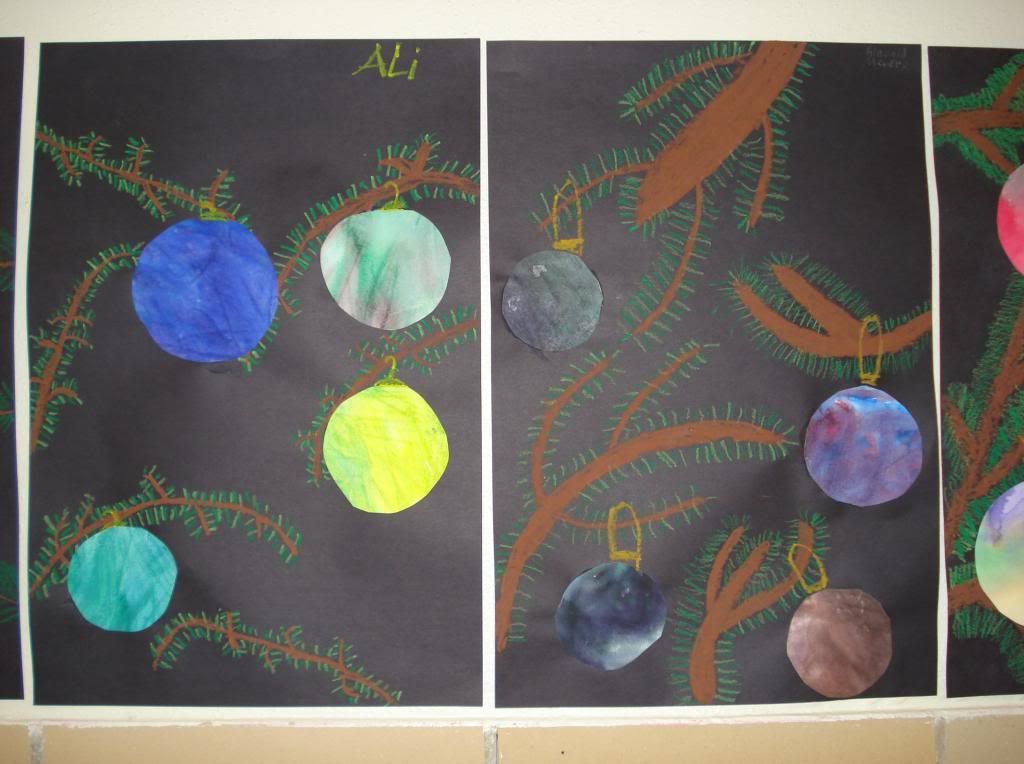
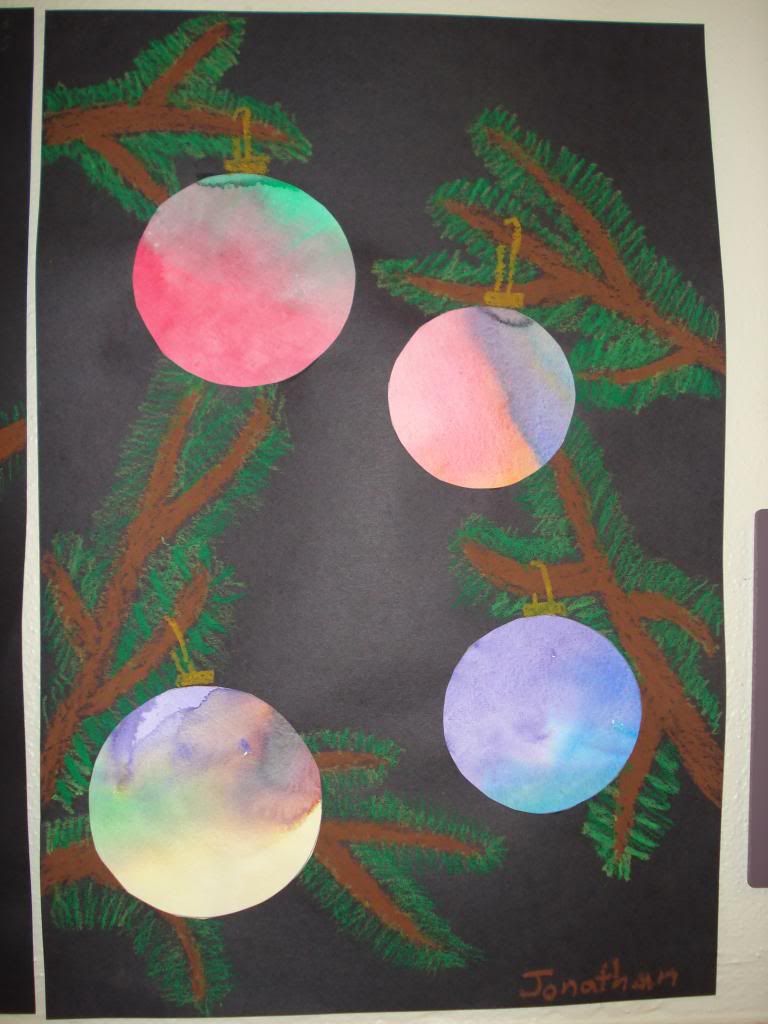
5th Grade in the Christmas Spirit
I feel pretty lucky that my administration lets me do whatever I want in terms of lesson ideas. I also feel like my ideas are accepted by not only the students but their parents too. I don't always like the idea of holiday projects because they can get kind of cheesy or cutsey crafty. However, they do have their place at times.
My 5th graders did these beautiful tree branches and ornaments. We focused in on creating the texture of the tree branches by using lines with oil pastels. We divided watercolor paper into 4 sections and did a wet-on-wet technique blending colors together. We used a compass to create the circle shapes of our ornaments and then put it all together by cutting and gluing. The final touch was to add hooks so our ornaments and branches went together.
The work in the hallway got great reviews and compliments by many teachers and parents.


My 5th graders did these beautiful tree branches and ornaments. We focused in on creating the texture of the tree branches by using lines with oil pastels. We divided watercolor paper into 4 sections and did a wet-on-wet technique blending colors together. We used a compass to create the circle shapes of our ornaments and then put it all together by cutting and gluing. The final touch was to add hooks so our ornaments and branches went together.
The work in the hallway got great reviews and compliments by many teachers and parents.
Monday, December 10, 2012
Santa Ornaments
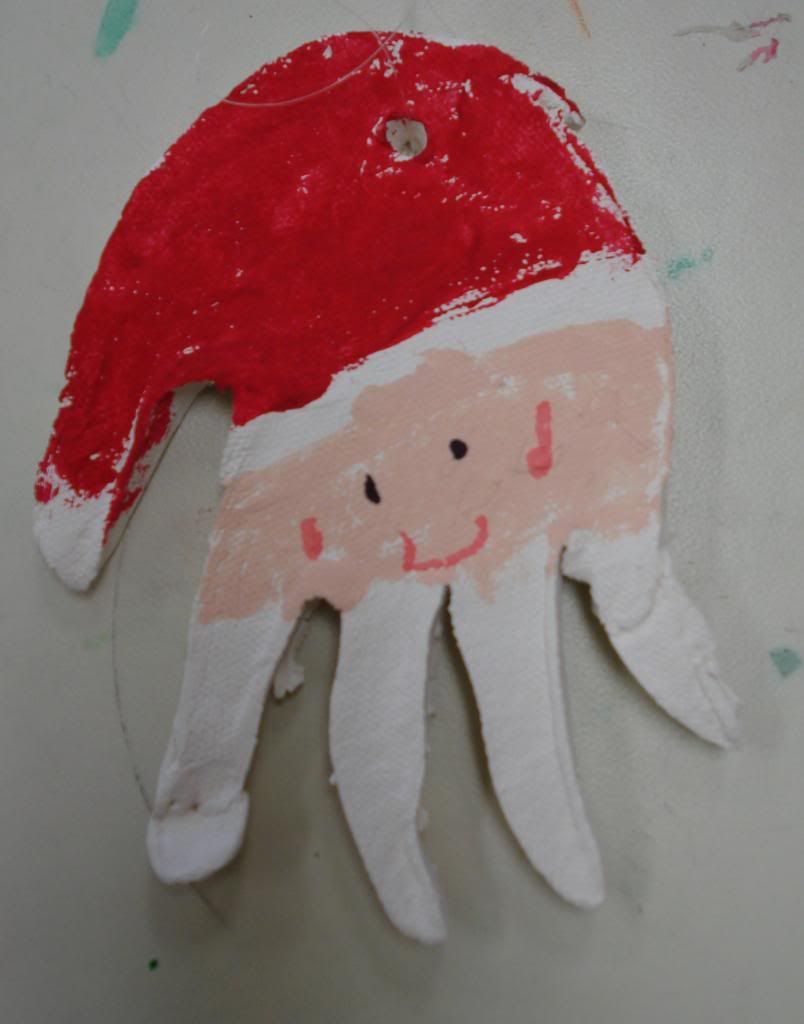
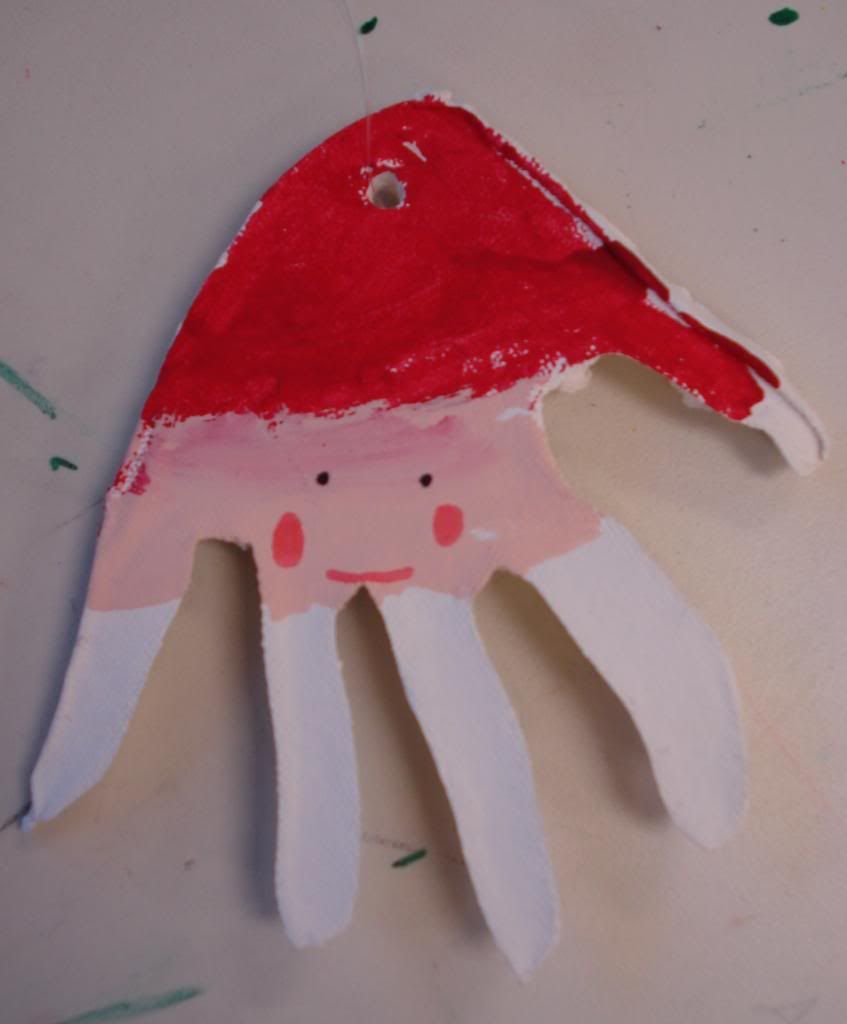
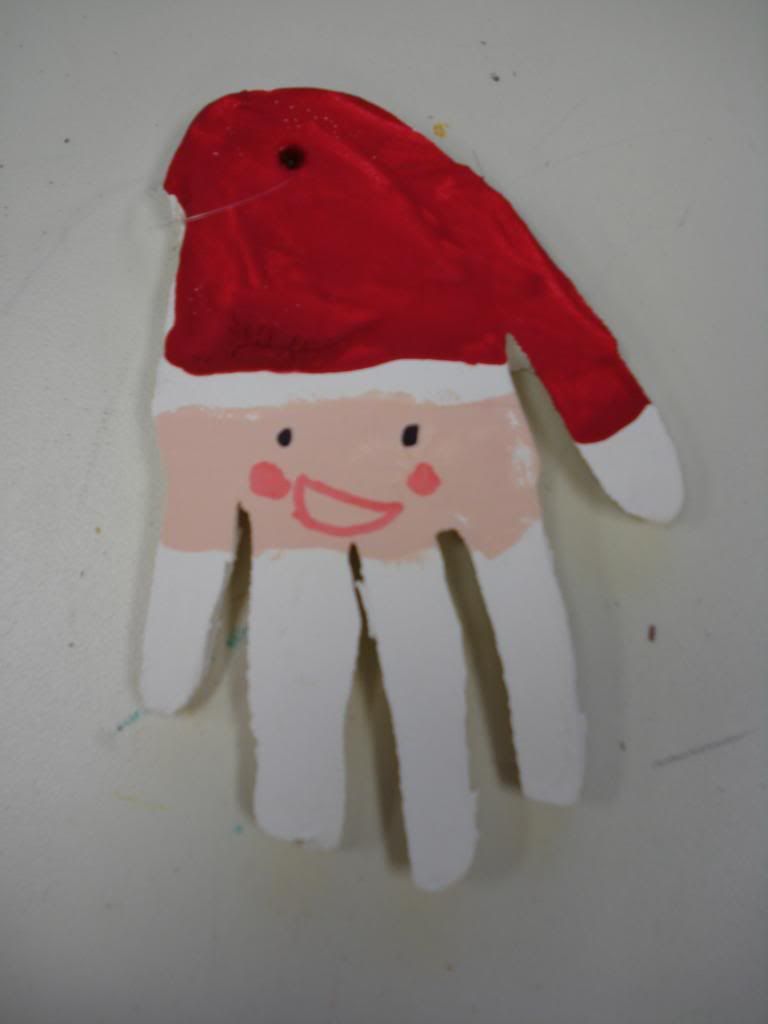
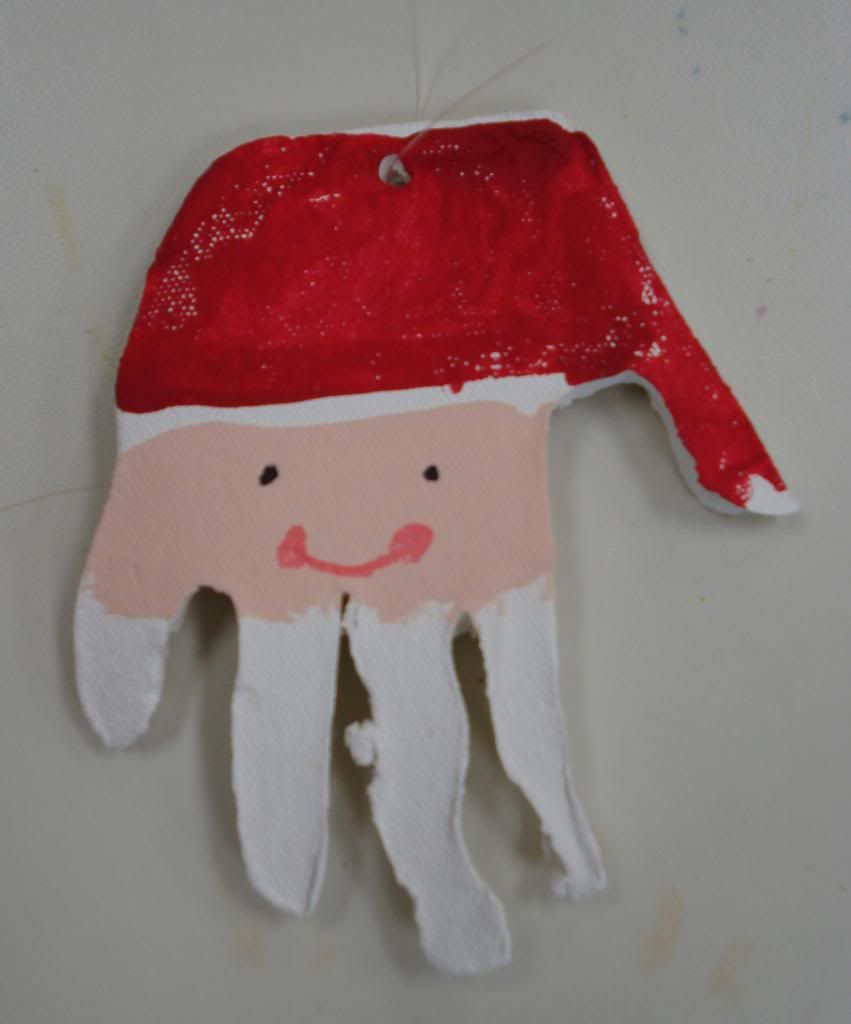
My 1st graders created these ornaments, based off an idea I've seen on Pinterest. I used clay and rolled out some slabs before giving the students some clay tools to trace and cut out their hand. Then after they were fired in the kiln, we painted red and skin tone in the appropriate areas. Because my clay fires white, we just left the white alone. I think this idea was fun to do and my students had a great time with it.
I love how all of them seem to have their own personalities!


I love how all of them seem to have their own personalities!
Saturday, December 1, 2012
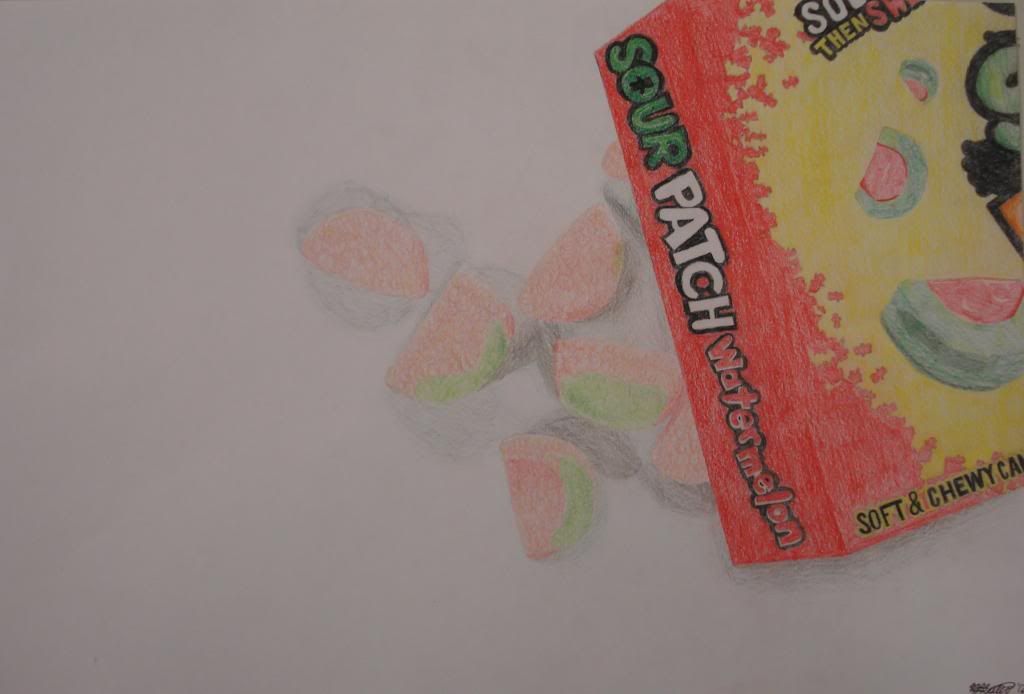
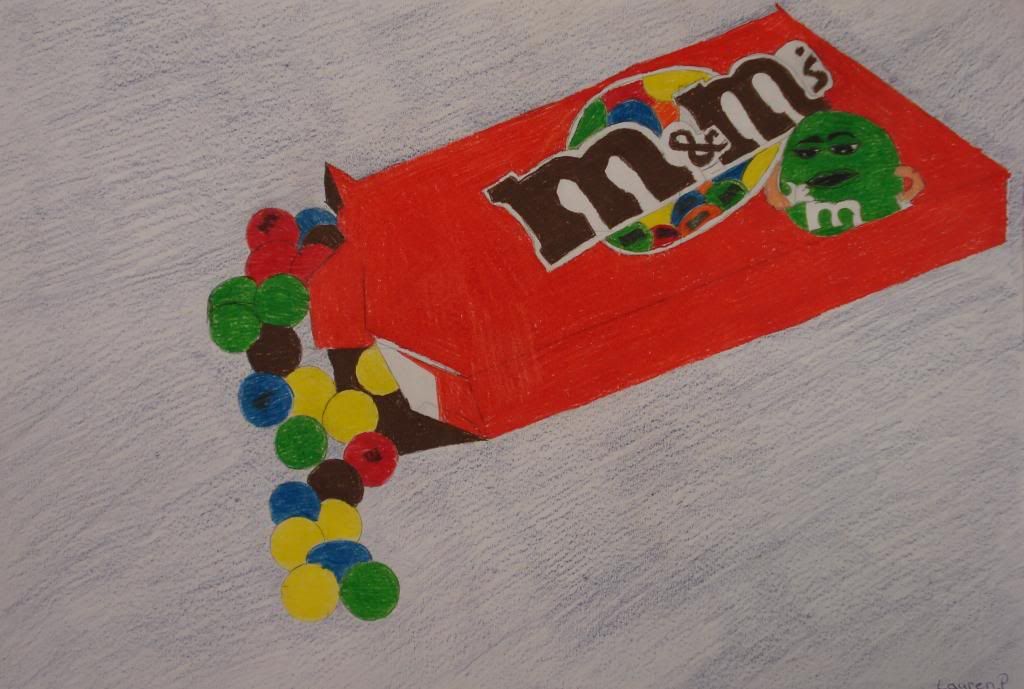
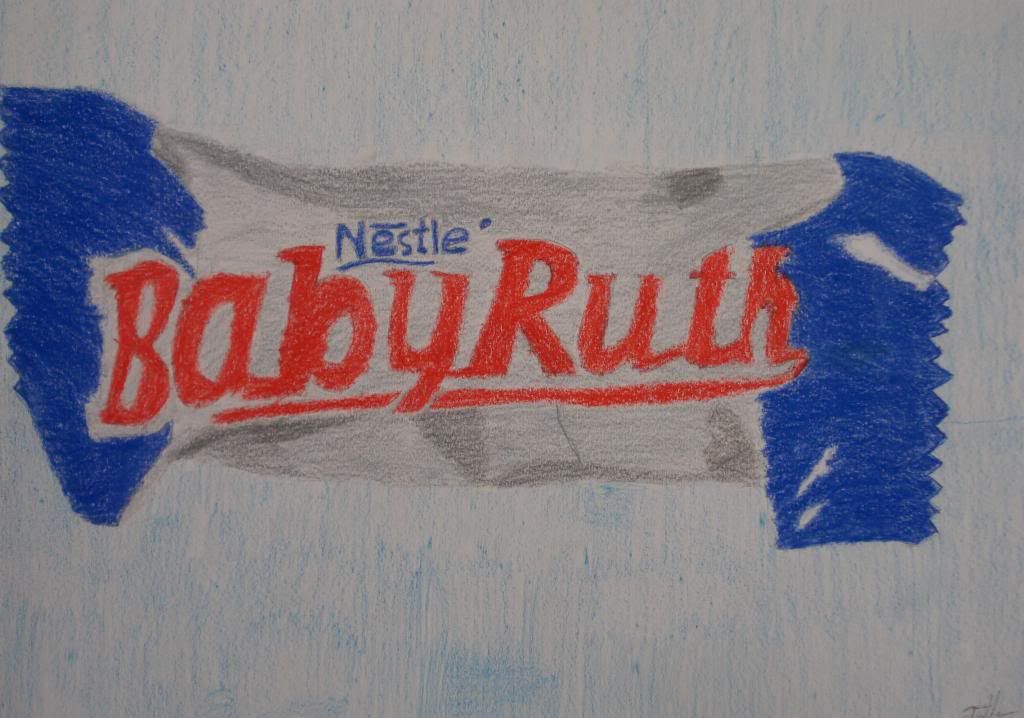
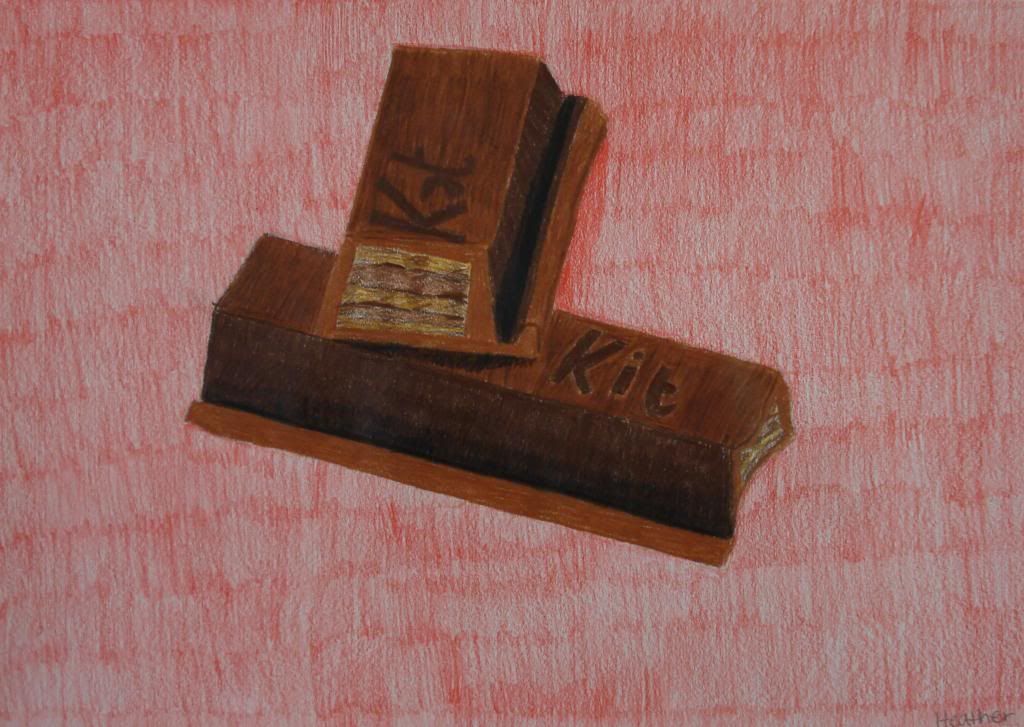
HS Photo-Realism Candy Drawing
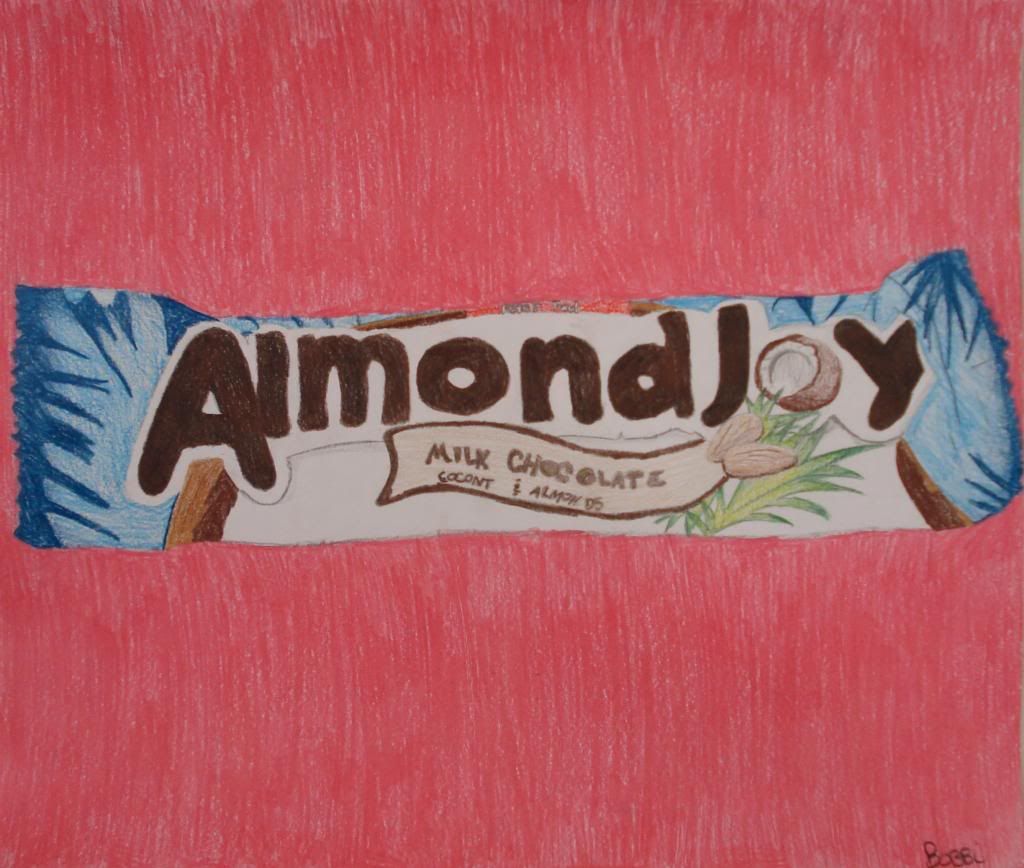
Around Halloween my HS students worked on candy drawings. They brought in candy of their choice and set up a mini still-life. Working from a photograph, students focused on the realistic qualities of packaging, lettering, and candy. We used colored pencils which worked out well for the most part...however, I sure do wish I could afford more expensive colored pencils like Prismacolors.
Here are some student examples:


Here are some student examples:


Subscribe to:
Posts (Atom)