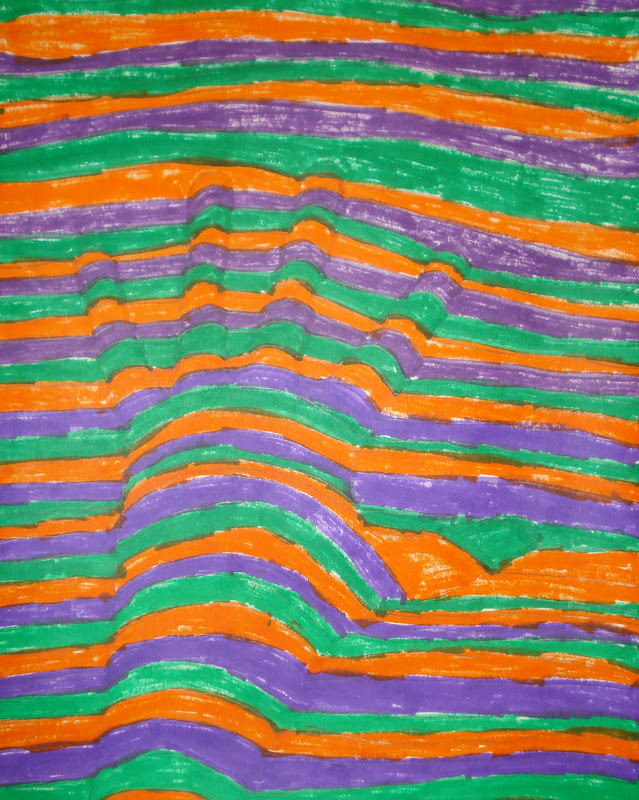
Of course, they didn't all turn out exactly like those seen below. Some of them you can't tell what it's supposed to be, but all of my 5th graders tried their hardest. If I did this project again, I'd consider a slightly different approach so I had more successes with my students. I might also try a different medium besides markers for a neater application. Anyway here are some of the successes:


I have the same pin from Pinterest and have been contemplating doing the lesson with my 5th grades this year. After seeing your post I am going to continue to play with the idea on my own until I feel I can present it in a way my students will be able to be successful with it. Thanks for the insight! :)
ReplyDeleteYes, I would play around with it. I found that when they need to have the curved lines they need to be pretty exaggerated curves otherwise the kids don't curve them enough and they end up pretty straight. Also, depending on the angle of the thumb area, it can get confusing and end up lost in the picture at the end. I might try using a ruler for the straight lines so they can match them up on both sides of the hand for better tracking. I did not like the application of the markers because of the lines it leaves and they started drying out already! I also wonder what watercolor would do if you had a smaller brush, I might try that next time if I do it again.
ReplyDeleteI've tried this project a little differently over the past few years and even through some of the results aren't the best, the kids love it and are happy with their art most of the time. It helps to use complementary colors as it makes the illusion really pop, I've also had good luck having students draw the lines with a sharpie, then coloring the spaces between the lines with colors, or just using colors to make the lines across the page with white spaces in between so it looks like yarn is draped across them. Hope these suggestions work for you!
ReplyDeleteI have done this project a few different ways over the past couple of years all with different degrees of success, but perhaps some of my suggestions will help! It helps my students if we use complementary colors because it makes the illusion really pop. I have also had students trace over the lines in between the colors with sharpie which looks nice. One year we were short on time so students just drew the lines across the page with colored markers and left them as just lines with white spaces in between so it looked like pieces of yarn going across their fingers. Hope these ideas help!
ReplyDeleteI did this project with my 5th graders, and to aid in keeping straight lines, I printed plain notebook paper from http://www.printablepaper.net/. The lines are black, instead of "real" paper, which has blue lines, and it could be seen through the drawing paper. Worked great!
ReplyDeleteI did this with 5th grade as well, after finding it on Pinterest! I printed plain notebook paper from http://www.printablepaper.net/. (It's free!) The lines on the printed paper are black and easily seen through drawing paper. :-)
ReplyDelete