We started out talking about landscapes. Along with that we discussed foreground, middleground, and background. I knew these terms would be "big" concepts, although when reviewing they seemed to understand. We also looked at the works of Wolf Kahn.
Then students tore pieces of painters tape to lay down on our paper to make our tree trunks and added a few branches too, if they wanted. We then used watercolor to paint the background. We started at the bottom with green and small patches of brown. We then "painted" the rest of our paper with water before we added color. This helped to blend the colors together. We focused on making lines of color to make a "sunset".
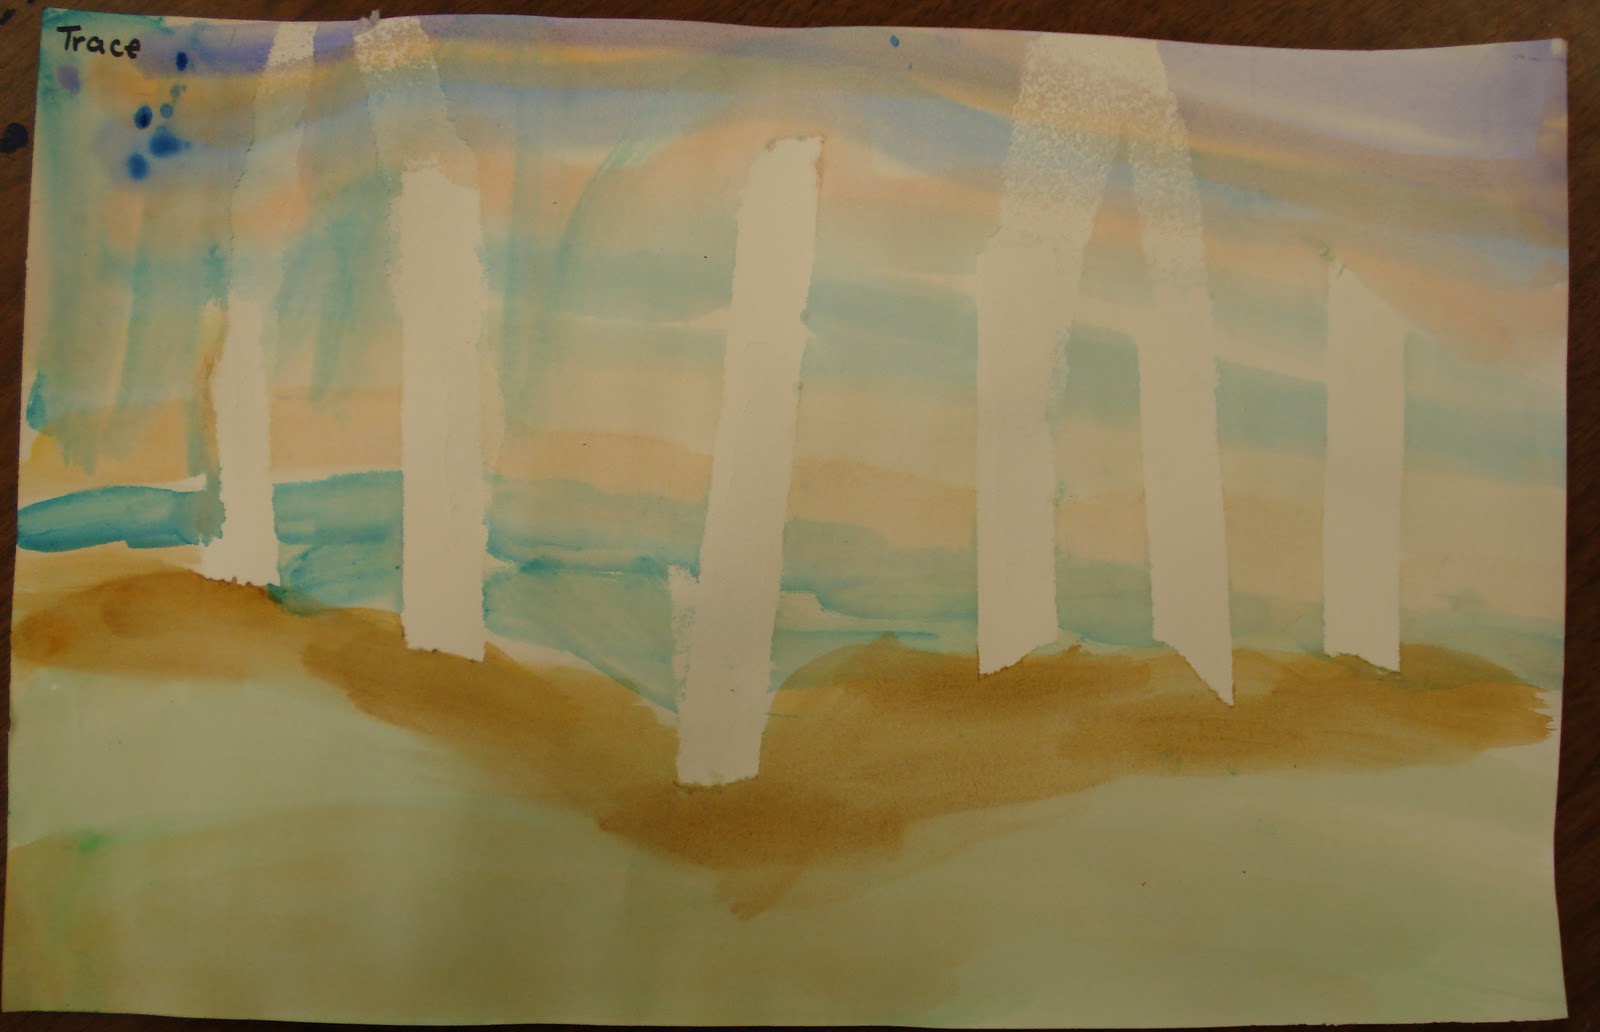
After the paintings were dry we CAREFULLY removed the tape. How cool was this! The students thought this was just awesome!
We then used crayons to add patches of grass, tree bark, and a few leaves. I demonstrated how to use different pressures and shades of the same color to create a bark texture. We also discussed birch trees and how they are mostly white with gray patches where the bark peels off.
Here are some results:


I love this idea! I do one similar, but with crayons instead of paint. Love your blog!! Good luck during your first year, the years will go by quickly so enjoy! Best, Vicki
ReplyDelete